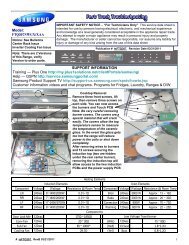
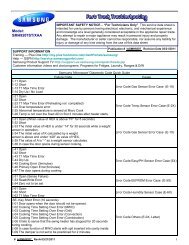
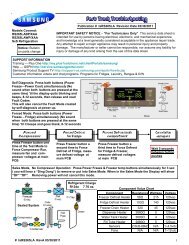
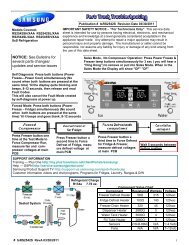
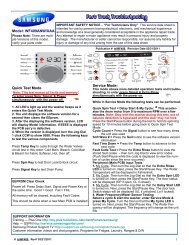
C:\Documents and Settings\Allen - MSAWorld.com
C:\Documents and Settings\Allen - MSAWorld.com
C:\Documents and Settings\Allen - MSAWorld.com

You also want an ePaper? Increase the reach of your titles
YUMPU automatically turns print PDFs into web optimized ePapers that Google loves.
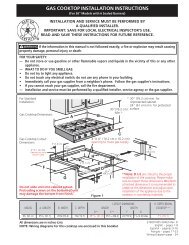
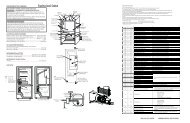
3. Remove the (2) screws, one on each side about 6<br />
inches down from the top, which secure the front<br />
panel to the side panels.<br />
2. Remove the (2) screws holding the console to the<br />
front panel <strong>and</strong> pull the console up <strong>and</strong> off.<br />
Removing the console frame:<br />
4. Pull out on the top of the front panel to release the<br />
spring loaded tabs <strong>and</strong> lift the front panel off the (2)<br />
clips at the bottom.<br />
1. Disconnect the dryer from electrical supply <strong>and</strong><br />
remove the console.<br />
2. Release the (3) plastic locking tabs at the top of the<br />
console <strong>and</strong> roll the top of the frame forward to<br />
release thebottom lockingtabs <strong>and</strong><strong>and</strong> liftthe frame<br />
off.<br />
Removing the start button:<br />
1. Disconnect the dryer from electrical supply <strong>and</strong><br />
remove the console frame.<br />
2. The button has a D shaped shaft <strong>and</strong> is removed by<br />
pulling straight off.<br />
Note:<br />
The front of the drum will now drop down.<br />
Removing the console:<br />
1. Disconnect the dryer from electrical supply <strong>and</strong><br />
remove the front panel.<br />
59