BZ-33, 44 Series - Waltco
BZ-33, 44 Series - Waltco
BZ-33, 44 Series - Waltco

You also want an ePaper? Increase the reach of your titles
YUMPU automatically turns print PDFs into web optimized ePapers that Google loves.
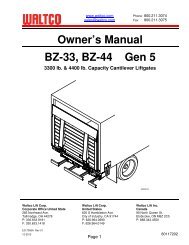
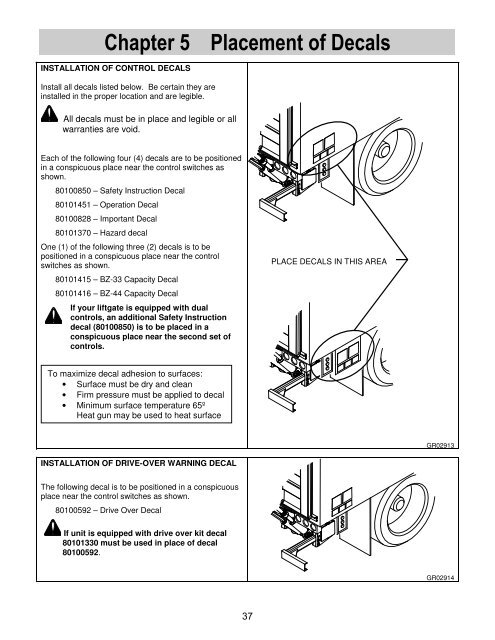
Chapter 5 Placement of Decals<br />
INSTALLATION OF CONTROL DECALS<br />
Install all decals listed below. Be certain they are<br />
installed in the proper location and are legible.<br />
All decals must be in place and legible or all<br />
warranties are void.<br />
Each of the following four (4) decals are to be positioned<br />
in a conspicuous place near the control switches as<br />
shown.<br />
80100850 – Safety Instruction Decal<br />
80101451 – Operation Decal<br />
80100828 – Important Decal<br />
80101370 – Hazard decal<br />
One (1) of the following three (2) decals is to be<br />
positioned in a conspicuous place near the control<br />
switches as shown.<br />
80101415 – <strong>BZ</strong>-<strong>33</strong> Capacity Decal<br />
80101416 – <strong>BZ</strong>-<strong>44</strong> Capacity Decal<br />
If your liftgate is equipped with dual<br />
controls, an additional Safety Instruction<br />
decal (80100850) is to be placed in a<br />
conspicuous place near the second set of<br />
controls.<br />
PLACE DECALS IN THIS AREA<br />
To maximize decal adhesion to surfaces:<br />
• Surface must be dry and clean<br />
• Firm pressure must be applied to decal<br />
• Minimum surface temperature 65º<br />
Heat gun may be used to heat surface<br />
GR02913<br />
INSTALLATION OF DRIVE-OVER WARNING DECAL<br />
The following decal is to be positioned in a conspicuous<br />
place near the control switches as shown.<br />
80100592 – Drive Over Decal<br />
If unit is equipped with drive over kit decal<br />
80101<strong>33</strong>0 must be used in place of decal<br />
80100592.<br />
GR02914<br />
37