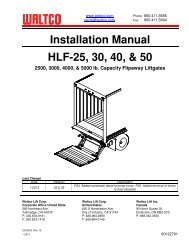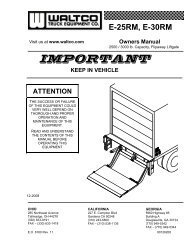
BZ-33, 44 Series - Waltco
BZ-33, 44 Series - Waltco
BZ-33, 44 Series - Waltco

Create successful ePaper yourself
Turn your PDF publications into a flip-book with our unique Google optimized e-Paper software.
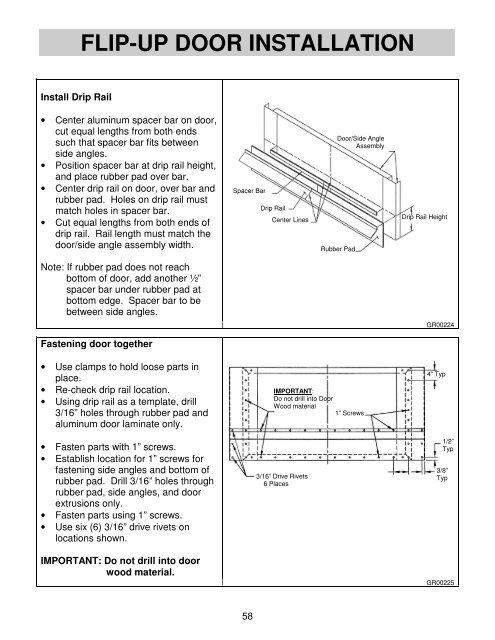
FLIP-UP DOOR INSTALLATION<br />
Install Drip Rail<br />
• Center aluminum spacer bar on door,<br />
cut equal lengths from both ends<br />
such that spacer bar fits between<br />
side angles.<br />
• Position spacer bar at drip rail height,<br />
and place rubber pad over bar.<br />
• Center drip rail on door, over bar and<br />
rubber pad. Holes on drip rail must<br />
match holes in spacer bar.<br />
• Cut equal lengths from both ends of<br />
drip rail. Rail length must match the<br />
door/side angle assembly width.<br />
Spacer Bar<br />
Drip Rail<br />
Center Lines<br />
Door/Side Angle<br />
Assembly<br />
Rubber Pad<br />
Drip Rail Height<br />
Note: If rubber pad does not reach<br />
bottom of door, add another ½”<br />
spacer bar under rubber pad at<br />
bottom edge. Spacer bar to be<br />
between side angles.<br />
GR00224<br />
Fastening door together<br />
• Use clamps to hold loose parts in<br />
place.<br />
• Re-check drip rail location.<br />
• Using drip rail as a template, drill<br />
3/16” holes through rubber pad and<br />
aluminum door laminate only.<br />
• Fasten parts with 1” screws.<br />
• Establish location for 1” screws for<br />
fastening side angles and bottom of<br />
rubber pad. Drill 3/16” holes through<br />
rubber pad, side angles, and door<br />
extrusions only.<br />
• Fasten parts using 1” screws.<br />
• Use six (6) 3/16” drive rivets on<br />
locations shown.<br />
IMPORTANT: Do not drill into door<br />
wood material.<br />
IMPORTANT:<br />
Do not drill into Door<br />
Wood material<br />
1” Screws<br />
3/16” Drive Rivets<br />
6 Places<br />
4” Typ<br />
1/2”<br />
Typ<br />
3/8”<br />
Typ<br />
GR00225<br />
58