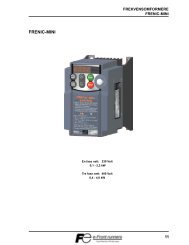
STARTING GUIDE FRENIC-Eco . FRN-F1 - Welcome to Fuji Electric
STARTING GUIDE FRENIC-Eco . FRN-F1 - Welcome to Fuji Electric
STARTING GUIDE FRENIC-Eco . FRN-F1 - Welcome to Fuji Electric

You also want an ePaper? Increase the reach of your titles
YUMPU automatically turns print PDFs into web optimized ePapers that Google loves.
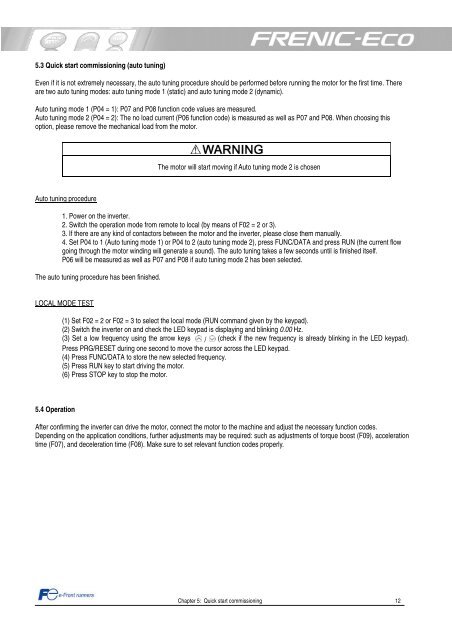
5.3 Quick start commissioning (au<strong>to</strong> tuning)<br />
Even if it is not extremely necessary, the au<strong>to</strong> tuning procedure should be performed before running the mo<strong>to</strong>r for the first time. There<br />
are two au<strong>to</strong> tuning modes: au<strong>to</strong> tuning mode 1 (static) and au<strong>to</strong> tuning mode 2 (dynamic).<br />
Au<strong>to</strong> tuning mode 1 (P04 = 1): P07 and P08 function code values are measured.<br />
Au<strong>to</strong> tuning mode 2 (P04 = 2): The no load current (P06 function code) is measured as well as P07 and P08. When choosing this<br />
option, please remove the mechanical load from the mo<strong>to</strong>r.<br />
Au<strong>to</strong> tuning procedure<br />
The mo<strong>to</strong>r will start moving if Au<strong>to</strong> tuning mode 2 is chosen<br />
1. Power on the inverter.<br />
2. Switch the operation mode from remote <strong>to</strong> local (by means of F02 = 2 or 3).<br />
3. If there are any kind of contac<strong>to</strong>rs between the mo<strong>to</strong>r and the inverter, please close them manually.<br />
4. Set P04 <strong>to</strong> 1 (Au<strong>to</strong> tuning mode 1) or P04 <strong>to</strong> 2 (au<strong>to</strong> tuning mode 2), press FUNC/DATA and press RUN (the current flow<br />
going through the mo<strong>to</strong>r winding will generate a sound). The au<strong>to</strong> tuning takes a few seconds until is finished itself.<br />
P06 will be measured as well as P07 and P08 if au<strong>to</strong> tuning mode 2 has been selected.<br />
The au<strong>to</strong> tuning procedure has been finished.<br />
LOCAL MODE TEST<br />
5.4 Operation<br />
(1) Set F02 = 2 or F02 = 3 <strong>to</strong> select the local mode (RUN command given by the keypad).<br />
(2) Switch the inverter on and check the LED keypad is displaying and blinking 0.00 Hz.<br />
(3) Set a low frequency using the arrow keys / (check if the new frequency is already blinking in the LED keypad).<br />
Press PRG/RESET during one second <strong>to</strong> move the cursor across the LED keypad.<br />
(4) Press FUNC/DATA <strong>to</strong> s<strong>to</strong>re the new selected frequency.<br />
(5) Press RUN key <strong>to</strong> start driving the mo<strong>to</strong>r.<br />
(6) Press STOP key <strong>to</strong> s<strong>to</strong>p the mo<strong>to</strong>r.<br />
After confirming the inverter can drive the mo<strong>to</strong>r, connect the mo<strong>to</strong>r <strong>to</strong> the machine and adjust the necessary function codes.<br />
Depending on the application conditions, further adjustments may be required: such as adjustments of <strong>to</strong>rque boost (F09), acceleration<br />
time (F07), and deceleration time (F08). Make sure <strong>to</strong> set relevant function codes properly.<br />
Chapter 5: Quick start commissioning 12