Teklynx > LABEL MATRIX
Teklynx > LABEL MATRIX
Teklynx > LABEL MATRIX

You also want an ePaper? Increase the reach of your titles
YUMPU automatically turns print PDFs into web optimized ePapers that Google loves.
Chapter 3-6<br />
Installation Guide<br />
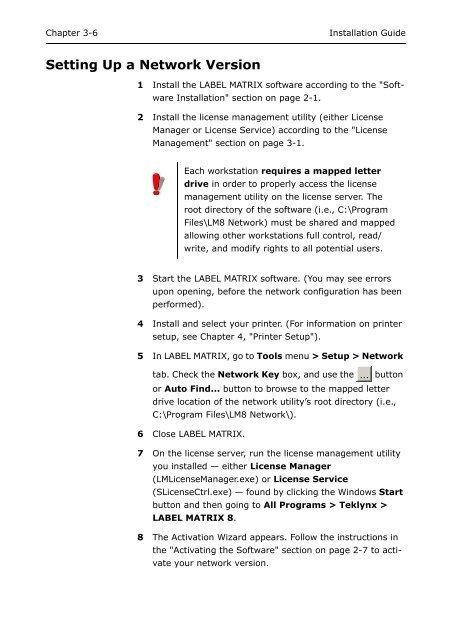
Setting Up a Network Version<br />
1 Install the <strong>LABEL</strong> <strong>MATRIX</strong> software according to the "Software<br />
Installation" section on page 2-1.<br />
2 Install the license management utility (either License<br />
Manager or License Service) according to the "License<br />
Management" section on page 3-1.<br />
Each workstation requires a mapped letter<br />
drive in order to properly access the license<br />
management utility on the license server. The<br />
root directory of the software (i.e., C:\Program<br />
Files\LM8 Network) must be shared and mapped<br />
allowing other workstations full control, read/<br />
write, and modify rights to all potential users.<br />
3 Start the <strong>LABEL</strong> <strong>MATRIX</strong> software. (You may see errors<br />
upon opening, before the network configuration has been<br />
performed).<br />
4 Install and select your printer. (For information on printer<br />
setup, see Chapter 4, "Printer Setup").<br />
5 In <strong>LABEL</strong> <strong>MATRIX</strong>, go to Tools menu > Setup > Network<br />
tab. Check the Network Key box, and use the button<br />
or Auto Find... button to browse to the mapped letter<br />
drive location of the network utility’s root directory (i.e.,<br />
C:\Program Files\LM8 Network\).<br />
6 Close <strong>LABEL</strong> <strong>MATRIX</strong>.<br />
7 On the license server, run the license management utility<br />
you installed — either License Manager<br />
(LMLicenseManager.exe) or License Service<br />
(SLicenseCtrl.exe) — found by clicking the Windows Start<br />
button and then going to All Programs > <strong>Teklynx</strong> ><br />
<strong>LABEL</strong> <strong>MATRIX</strong> 8.<br />
8 The Activation Wizard appears. Follow the instructions in<br />
the "Activating the Software" section on page 2-7 to activate<br />
your network version.