Download Glorystar Installation Guide - Free Christian Satellite ...
Download Glorystar Installation Guide - Free Christian Satellite ...
Download Glorystar Installation Guide - Free Christian Satellite ...

You also want an ePaper? Increase the reach of your titles
YUMPU automatically turns print PDFs into web optimized ePapers that Google loves.
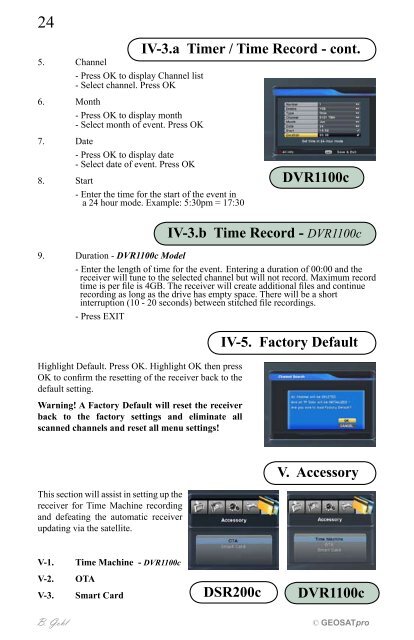
245. Channel- Press OK to display Channel list- Select channel. Press OK6. Month- Press OK to display month- Select month of event. Press OK7. Date- Press OK to display date- Select date of event. Press OK8. Start- Enter the time for the start of the event ina 24 hour mode. Example: 5:30pm = 17:30Highlight Default. Press OK. Highlight OK then pressOK to confirm the resetting of the receiver back to thedefault setting.Warning! A Factory Default will reset the receiverback to the factory settings and eliminate allscanned channels and reset all menu settings!IV-3.a Timer / Time Record - cont.DVR1100cIV-3.b Time Record - DVR1100c9. Duration - DVR1100c Model- Enter the length of time for the event. Entering a duration of 00:00 and thereceiver will tune to the selected channel but will not record. Maximum recordtime is per file is 4GB. The receiver will create additional files and continuerecording as long as the drive has empty space. There will be a shortinterruption (10 - 20 seconds) between stitched file recordings.- Press EXITIV-5. Factory DefaultThis section will assist in setting up thereceiver for Time Machine recordingand defeating the automatic receiverupdating via the satellite.V. AccessoryV-1.Time Machine - DVR1100cV-2.V-3.OTASmart CardDSR200cDVR1100cB. Gohl © GEOSATpro