

iphone_user_guide

Create successful ePaper yourself
Turn your PDF publications into a flip-book with our unique Google optimized e-Paper software.
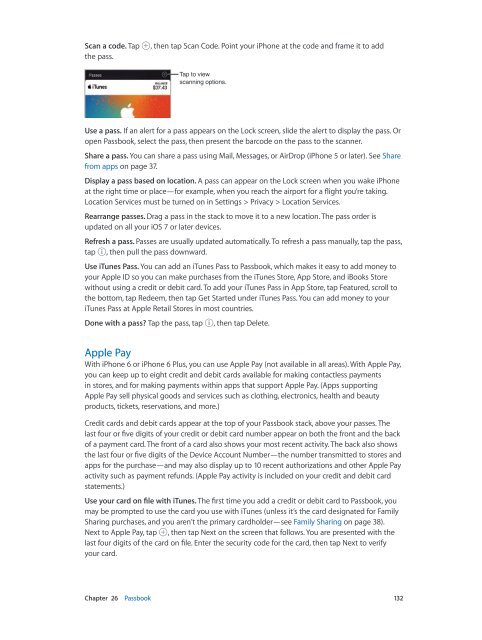
Scan a code. Tap<br />
the pass.<br />
, then tap Scan Code. Point your iPhone at the code and frame it to add<br />
Tap to view<br />
scanning options.<br />
Use a pass. If an alert for a pass appears on the Lock screen, slide the alert to display the pass. Or<br />
open Passbook, select the pass, then present the barcode on the pass to the scanner.<br />
Share a pass. You can share a pass using Mail, Messages, or AirDrop (iPhone 5 or later). See Share<br />
from apps on page 37.<br />
Display a pass based on location. A pass can appear on the Lock screen when you wake iPhone<br />
at the right time or place—for example, when you reach the airport for a flight you’re taking.<br />
Location Services must be turned on in Settings > Privacy > Location Services.<br />
Rearrange passes. Drag a pass in the stack to move it to a new location. The pass order is<br />
updated on all your iOS 7 or later devices.<br />
Refresh a pass. Passes are usually updated automatically. To refresh a pass manually, tap the pass,<br />
tap , then pull the pass downward.<br />
Use iTunes Pass. You can add an iTunes Pass to Passbook, which makes it easy to add money to<br />
your Apple ID so you can make purchases from the iTunes Store, App Store, and iBooks Store<br />
without using a credit or debit card. To add your iTunes Pass in App Store, tap Featured, scroll to<br />
the bottom, tap Redeem, then tap Get Started under iTunes Pass. You can add money to your<br />
iTunes Pass at Apple Retail Stores in most countries.<br />
Done with a pass? Tap the pass, tap , then tap Delete.<br />
Apple Pay<br />
With iPhone 6 or iPhone 6 Plus, you can use Apple Pay (not available in all areas). With Apple Pay,<br />
you can keep up to eight credit and debit cards available for making contactless payments<br />
in stores, and for making payments within apps that support Apple Pay. (Apps supporting<br />
Apple Pay sell physical goods and services such as clothing, electronics, health and beauty<br />
products, tickets, reservations, and more.)<br />
Credit cards and debit cards appear at the top of your Passbook stack, above your passes. The<br />
last four or five digits of your credit or debit card number appear on both the front and the back<br />
of a payment card. The front of a card also shows your most recent activity. The back also shows<br />
the last four or five digits of the Device Account Number—the number transmitted to stores and<br />
apps for the purchase—and may also display up to 10 recent authorizations and other Apple Pay<br />
activity such as payment refunds. (Apple Pay activity is included on your credit and debit card<br />
statements.)<br />
Use your card on file with iTunes. The first time you add a credit or debit card to Passbook, you<br />
may be prompted to use the card you use with iTunes (unless it’s the card designated for Family<br />
Sharing purchases, and you aren’t the primary cardholder—see Family Sharing on page 38).<br />
Next to Apple Pay, tap , then tap Next on the screen that follows. You are presented with the<br />
last four digits of the card on file. Enter the security code for the card, then tap Next to verify<br />
your card.<br />
Chapter 26 Passbook 132