CONELOG® SURGICAL PROCEDURES - Camlog
CONELOG® SURGICAL PROCEDURES - Camlog
CONELOG® SURGICAL PROCEDURES - Camlog

You also want an ePaper? Increase the reach of your titles
YUMPU automatically turns print PDFs into web optimized ePapers that Google loves.
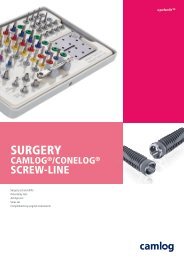
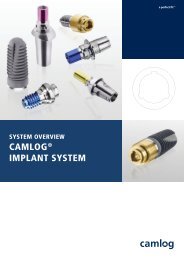
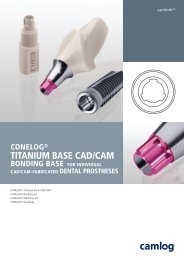
CONELOG ® SCREW-LINE IMPLANT<br />
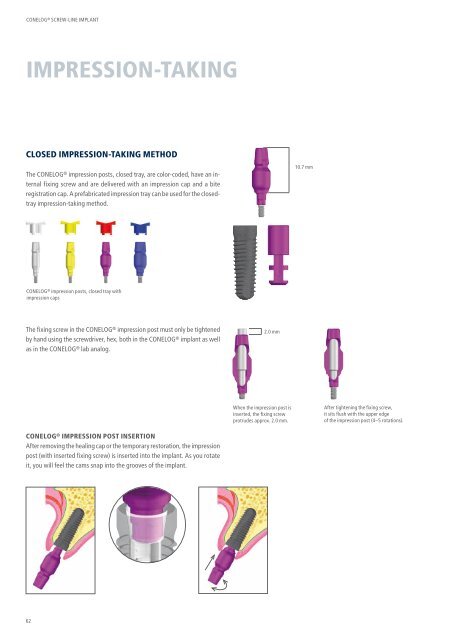
IMPRESSION-TAKING<br />
CLOSED IMPRESSION-TAKING METHOD<br />
The CONELOG ® impression posts, closed tray, are color-coded, have an internal<br />
fixing screw and are delivered with an impression cap and a bite<br />
registration cap. A prefabricated impression tray can be used for the closedtray<br />
impression-taking method.<br />
CONELOG ® impression posts, closed tray with<br />
impression caps<br />
The fixing screw in the CONELOG ® impression post must only be tightened<br />
by hand using the screwdriver, hex, both in the CONELOG ® implant as well<br />
as in the CONELOG ® lab analog.<br />
CONELOG ® IMPRESSION POST INSERTION<br />
After removing the healing cap or the temporary restoration, the impression<br />
post (with inserted fixing screw) is inserted into the implant. As you rotate<br />
it, you will feel the cams snap into the grooves of the implant.<br />
62<br />
2.0 mm<br />
When the impression post is<br />
inserted, the fixing screw<br />
protrudes approx. 2.0 mm.<br />
10.7 mm<br />
After tightening the fixing screw,<br />
it sits flush with the upper edge<br />
of the impression post (4–5 rotations).