kopie - copia - cópia - Operator's Manual - John Deere
kopie - copia - cópia - Operator's Manual - John Deere
kopie - copia - cópia - Operator's Manual - John Deere
You also want an ePaper? Increase the reach of your titles
YUMPU automatically turns print PDFs into web optimized ePapers that Google loves.
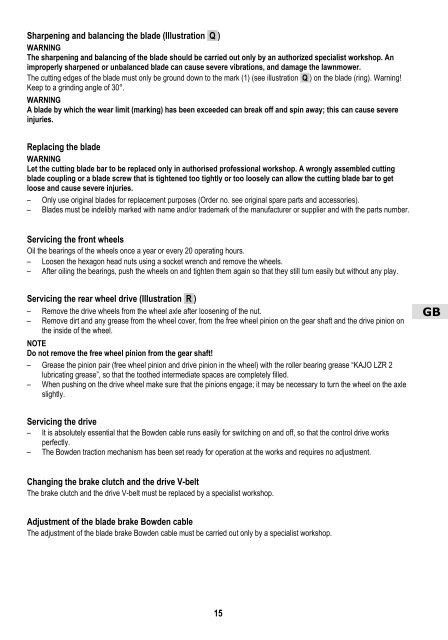
Sharpening and balancing the blade (Illustration Q )<br />
WARNING<br />
The sharpening and balancing of the blade should be carried out only by an authorized specialist workshop. An<br />
improperly sharpened or unbalanced blade can cause severe vibrations, and damage the lawnmower.<br />
The cutting edges of the blade must only be ground down to the mark (1) (see illustration Q ) on the blade (ring). Warning!<br />
Keep to a grinding angle of 30°.<br />
WARNING<br />
A blade by which the wear limit (marking) has been exceeded can break off and spin away; this can cause severe<br />
injuries.<br />
Replacing the blade<br />
WARNING<br />
Let the cutting blade bar to be replaced only in authorised professional workshop. A wrongly assembled cutting<br />
blade coupling or a blade screw that is tightened too tightly or too loosely can allow the cutting blade bar to get<br />
loose and cause severe injuries.<br />
– Only use original blades for replacement purposes (Order no. see original spare parts and accessories).<br />
– Blades must be indelibly marked with name and/or trademark of the manufacturer or supplier and with the parts number.<br />
Servicing the front wheels<br />
Oil the bearings of the wheels once a year or every 20 operating hours.<br />
– Loosen the hexagon head nuts using a socket wrench and remove the wheels.<br />
– After oiling the bearings, push the wheels on and tighten them again so that they still turn easily but without any play.<br />
Servicing the rear wheel drive (Illustration R )<br />
– Remove the drive wheels from the wheel axle after loosening of the nut.<br />
– Remove dirt and any grease from the wheel cover, from the free wheel pinion on the gear shaft and the drive pinion on<br />
the inside of the wheel.<br />
NOTE<br />
Do not remove the free wheel pinion from the gear shaft!<br />
– Grease the pinion pair (free wheel pinion and drive pinion in the wheel) with the roller bearing grease “KAJO LZR 2<br />
lubricating grease”, so that the toothed intermediate spaces are completely filled.<br />
– When pushing on the drive wheel make sure that the pinions engage; it may be necessary to turn the wheel on the axle<br />
slightly.<br />
Servicing the drive<br />
– It is absolutely essential that the Bowden cable runs easily for switching on and off, so that the control drive works<br />
perfectly.<br />
– The Bowden traction mechanism has been set ready for operation at the works and requires no adjustment.<br />
Changing the brake clutch and the drive V-belt<br />
The brake clutch and the drive V-belt must be replaced by a specialist workshop.<br />
Adjustment of the blade brake Bowden cable<br />
The adjustment of the blade brake Bowden cable must be carried out only by a specialist workshop.<br />
15<br />
GB


