Designing and Implementing a Junos Node Unifier Network
Designing and Implementing a Junos Node Unifier Network
Designing and Implementing a Junos Node Unifier Network
You also want an ePaper? Increase the reach of your titles
YUMPU automatically turns print PDFs into web optimized ePapers that Google loves.
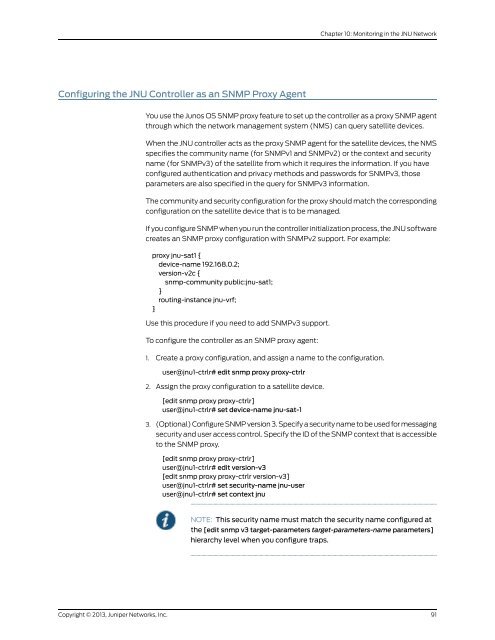
Configuring the JNU Controller as an SNMP Proxy Agent<br />
Copyright © 2013, Juniper <strong>Network</strong>s, Inc.<br />
You use the <strong>Junos</strong> OS SNMP proxy feature to set up the controller as a proxy SNMP agent<br />
through which the network management system (NMS) can query satellite devices.<br />
When the JNU controller acts as the proxy SNMP agent for the satellite devices, the NMS<br />
specifies the community name (for SNMPv1 <strong>and</strong> SNMPv2) or the context <strong>and</strong> security<br />
name (for SNMPv3) of the satellite from which it requires the information. If you have<br />
configured authentication <strong>and</strong> privacy methods <strong>and</strong> passwords for SNMPv3, those<br />
parameters are also specified in the query for SNMPv3 information.<br />
The community <strong>and</strong> security configuration for the proxy should match the corresponding<br />
configuration on the satellite device that is to be managed.<br />
If you configure SNMP when you run the controller initialization process, the JNU software<br />
creates an SNMP proxy configuration with SNMPv2 support. For example:<br />
proxy jnu-sat1 {<br />
device-name 192.168.0.2;<br />
version-v2c {<br />
snmp-community public:jnu-sat1;<br />
}<br />
routing-instance jnu-vrf;<br />
}<br />
Use this procedure if you need to add SNMPv3 support.<br />
To configure the controller as an SNMP proxy agent:<br />
1. Create a proxy configuration, <strong>and</strong> assign a name to the configuration.<br />
user@jnu1-ctrlr# edit snmp proxy proxy-ctrlr<br />
2. Assign the proxy configuration to a satellite device.<br />
[edit snmp proxy proxy-ctrlr]<br />
user@jnu1-ctrlr# set device-name jnu-sat-1<br />
3. (Optional) Configure SNMP version 3. Specify a security name to be used for messaging<br />
security <strong>and</strong> user access control. Specify the ID of the SNMP context that is accessible<br />
to the SNMP proxy.<br />
[edit snmp proxy proxy-ctrlr]<br />
user@jnu1-ctrlr# edit version-v3<br />
[edit snmp proxy proxy-ctrlr version-v3]<br />
user@jnu1-ctrlr# set security-name jnu-user<br />
user@jnu1-ctrlr# set context jnu<br />
NOTE: This security name must match the security name configured at<br />
the [edit snmp v3 target-parameters target-parameters-name parameters]<br />
hierarchy level when you configure traps.<br />
Chapter 10: Monitoring in the JNU <strong>Network</strong><br />
91


