Edwards IH Instruction Manual - Ideal Vacuum Products
Edwards IH Instruction Manual - Ideal Vacuum Products
Edwards IH Instruction Manual - Ideal Vacuum Products
Create successful ePaper yourself
Turn your PDF publications into a flip-book with our unique Google optimized e-Paper software.
6.5 Check the purge gas flow rates<br />
Use the Service/Gas valve control menu to regularly check the purge gas flow rates against<br />
the nominal flow rates shown in Table 5-1.<br />
6.6 Inspect and clean the exhaust-pipe, elbow and check-valve<br />
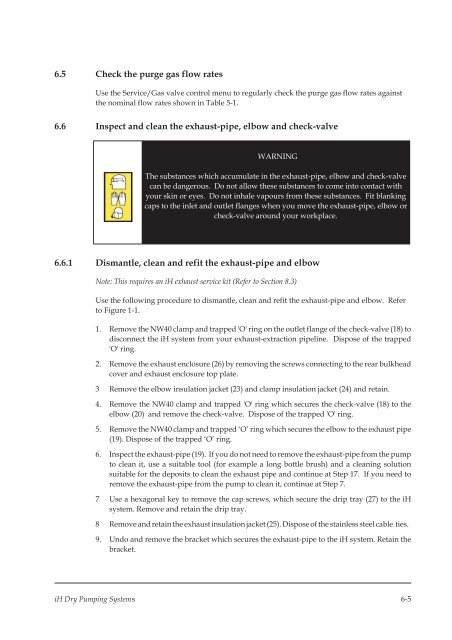
WARNING<br />
The substances which accumulate in the exhaust-pipe, elbow and check-valve<br />
can be dangerous. Do not allow these substances to come into contact with<br />
your skin or eyes. Do not inhale vapours from these substances. Fit blanking<br />
caps to the inlet and outlet flanges when you move the exhaust-pipe, elbow or<br />
check-valve around your workplace.<br />
6.6.1 Dismantle, clean and refit the exhaust-pipe and elbow<br />
Note: This requires an iH exhaust service kit (Refer to Section 8.3)<br />
Use the following procedure to dismantle, clean and refit the exhaust-pipe and elbow. Refer<br />
to Figure 1-1.<br />
1. Remove the NW40 clamp and trapped 'O' ringon the outlet flange of the check-valve (18) to<br />
disconnect the iH system from your exhaust-extraction pipeline. Dispose of the trapped<br />
'O' ring.<br />
2. Remove the exhaust enclosure (26) by removingthe screws connectingto the rear bulkhead<br />
cover and exhaust enclosure top plate.<br />
3 Remove the elbow insulation jacket (23) and clamp insulation jacket (24) and retain.<br />
4. Remove the NW40 clamp and trapped 'O' ringwhich secures the check-valve (18) to the<br />
elbow (20) and remove the check-valve. Dispose of the trapped 'O' ring.<br />
5. Remove the NW40 clamp and trapped ‘O’ ringwhich secures the elbow to the exhaust pipe<br />
(19). Dispose of the trapped ‘O’ ring.<br />
6. Inspect the exhaust-pipe (19). If you do not need to remove the exhaust-pipe from the pump<br />
to clean it, use a suitable tool (for example a longbottle brush) and a cleaningsolution<br />
suitable for the deposits to clean the exhaust pipe and continue at Step 17. If you need to<br />
remove the exhaust-pipe from the pump to clean it, continue at Step 7.<br />
7 Use a hexagonal key to remove the cap screws, which secure the drip tray (27) to the iH<br />
system. Remove and retain the drip tray.<br />
8 Remove and retain the exhaust insulation jacket (25). Dispose of the stainless steel cable ties.<br />
9. Undo and remove the bracket which secures the exhaust-pipe to the iH system. Retain the<br />
bracket.<br />
iH Dry Pumping Systems 6-5


