INSTALLATION MANUAL - Smarthome
INSTALLATION MANUAL - Smarthome
INSTALLATION MANUAL - Smarthome
Create successful ePaper yourself
Turn your PDF publications into a flip-book with our unique Google optimized e-Paper software.
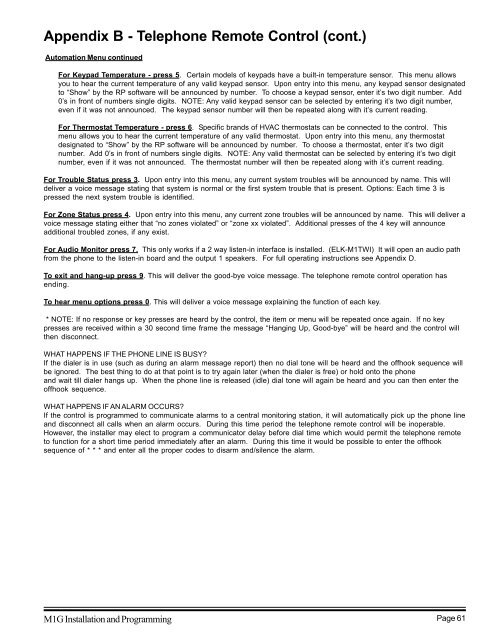
Appendix B - Telephone Remote Control (cont.)<br />
Automation Menu continued<br />
For Keypad Temperature - press 5. Certain models of keypads have a built-in temperature sensor. This menu allows<br />
you to hear the current temperature of any valid keypad sensor. Upon entry into this menu, any keypad sensor designated<br />
to “Show” by the RP software will be announced by number. To choose a keypad sensor, enter it’s two digit number. Add<br />
0’s in front of numbers single digits. NOTE: Any valid keypad sensor can be selected by entering it’s two digit number,<br />
even if it was not announced. The keypad sensor number will then be repeated along with it’s current reading.<br />
For Thermostat Temperature - press 6. Specific brands of HVAC thermostats can be connected to the control. This<br />
menu allows you to hear the current temperature of any valid thermostat. Upon entry into this menu, any thermostat<br />
designated to “Show” by the RP software will be announced by number. To choose a thermostat, enter it’s two digit<br />
number. Add 0’s in front of numbers single digits. NOTE: Any valid thermostat can be selected by entering it’s two digit<br />
number, even if it was not announced. The thermostat number will then be repeated along with it’s current reading.<br />
For Trouble Status press 3. Upon entry into this menu, any current system troubles will be announced by name. This will<br />
deliver a voice message stating that system is normal or the first system trouble that is present. Options: Each time 3 is<br />
pressed the next system trouble is identified.<br />
For Zone Status press 4. Upon entry into this menu, any current zone troubles will be announced by name. This will deliver a<br />
voice message stating either that “no zones violated” or “zone xx violated”. Additional presses of the 4 key will announce<br />
additional troubled zones, if any exist.<br />
For Audio Monitor press 7. This only works if a 2 way listen-in interface is installed. (ELK-M1TWI) It will open an audio path<br />
from the phone to the listen-in board and the output 1 speakers. For full operating instructions see Appendix D.<br />
To exit and hang-up press 9. This will deliver the good-bye voice message. The telephone remote control operation has<br />
ending.<br />
To hear menu options press 0. This will deliver a voice message explaining the function of each key.<br />
* NOTE: If no response or key presses are heard by the control, the item or menu will be repeated once again. If no key<br />
presses are received within a 30 second time frame the message “Hanging Up, Good-bye” will be heard and the control will<br />
then disconnect.<br />
WHAT HAPPENS IF THE PHONE LINE IS BUSY?<br />
If the dialer is in use (such as during an alarm message report) then no dial tone will be heard and the offhook sequence will<br />
be ignored. The best thing to do at that point is to try again later (when the dialer is free) or hold onto the phone<br />
and wait till dialer hangs up. When the phone line is released (idle) dial tone will again be heard and you can then enter the<br />
offhook sequence.<br />
WHAT HAPPENS IF AN ALARM OCCURS?<br />
If the control is programmed to communicate alarms to a central monitoring station, it will automatically pick up the phone line<br />
and disconnect all calls when an alarm occurs. During this time period the telephone remote control will be inoperable.<br />
However, the installer may elect to program a communicator delay before dial time which would permit the telephone remote<br />
to function for a short time period immediately after an alarm. During this time it would be possible to enter the offhook<br />
sequence of * * * and enter all the proper codes to disarm and/silence the alarm.<br />
M1G Installation and Programming Page 61


