HP Data Protector A.06.11 Support for Vmware vstorage technical ...
HP Data Protector A.06.11 Support for Vmware vstorage technical ...
HP Data Protector A.06.11 Support for Vmware vstorage technical ...
Create successful ePaper yourself
Turn your PDF publications into a flip-book with our unique Google optimized e-Paper software.
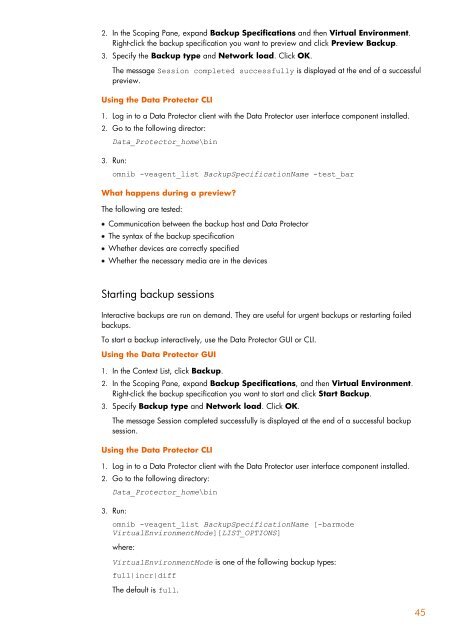
2. In the Scoping Pane, expand Backup Specifications and then Virtual Environment.<br />
Right-click the backup specification you want to preview and click Preview Backup.<br />
3. Specify the Backup type and Network load. Click OK.<br />
The message Session completed successfully is displayed at the end of a successful<br />
preview.<br />
Using the <strong>Data</strong> <strong>Protector</strong> CLI<br />
1. Log in to a <strong>Data</strong> <strong>Protector</strong> client with the <strong>Data</strong> <strong>Protector</strong> user interface component installed.<br />
2. Go to the following director:<br />
<strong>Data</strong>_<strong>Protector</strong>_home\bin<br />
3. Run:<br />
omnib -veagent_list BackupSpecificationName -test_bar<br />
What happens during a preview?<br />
The following are tested:<br />
Communication between the backup host and <strong>Data</strong> <strong>Protector</strong><br />
The syntax of the backup specification<br />
Whether devices are correctly specified<br />
Whether the necessary media are in the devices<br />
Starting backup sessions<br />
Interactive backups are run on demand. They are useful <strong>for</strong> urgent backups or restarting failed<br />
backups.<br />
To start a backup interactively, use the <strong>Data</strong> <strong>Protector</strong> GUI or CLI.<br />
Using the <strong>Data</strong> <strong>Protector</strong> GUI<br />
1. In the Context List, click Backup.<br />
2. In the Scoping Pane, expand Backup Specifications, and then Virtual Environment.<br />
Right-click the backup specification you want to start and click Start Backup.<br />
3. Specify Backup type and Network load. Click OK.<br />
The message Session completed successfully is displayed at the end of a successful backup<br />
session.<br />
Using the <strong>Data</strong> <strong>Protector</strong> CLI<br />
1. Log in to a <strong>Data</strong> <strong>Protector</strong> client with the <strong>Data</strong> <strong>Protector</strong> user interface component installed.<br />
2. Go to the following directory:<br />
<strong>Data</strong>_<strong>Protector</strong>_home\bin<br />
3. Run:<br />
omnib -veagent_list BackupSpecificationName [-barmode<br />
VirtualEnvironmentMode][LIST_OPTIONS]<br />
where:<br />
VirtualEnvironmentMode is one of the following backup types:<br />
full|incr|diff<br />
The default is full.<br />
45


