Thinkpad T500 and W500 Hardware Maintenance Manual - Lenovo
Thinkpad T500 and W500 Hardware Maintenance Manual - Lenovo
Thinkpad T500 and W500 Hardware Maintenance Manual - Lenovo

Create successful ePaper yourself
Turn your PDF publications into a flip-book with our unique Google optimized e-Paper software.
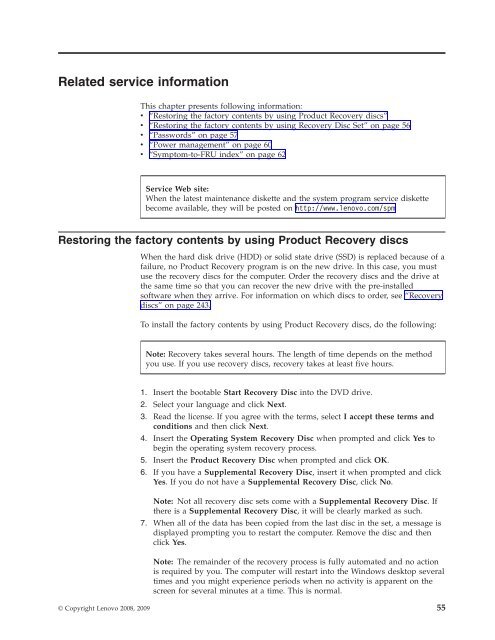
Related service information<br />
This chapter presents following information:<br />
v “Restoring the factory contents by using Product Recovery discs”<br />
v “Restoring the factory contents by using Recovery Disc Set” on page 56<br />
v “Passwords” on page 57<br />
v “Power management” on page 60<br />
v “Symptom-to-FRU index” on page 62<br />
Service Web site:<br />
When the latest maintenance diskette <strong>and</strong> the system program service diskette<br />
become available, they will be posted on http://www.lenovo.com/spm<br />
Restoring the factory contents by using Product Recovery discs<br />
When the hard disk drive (HDD) or solid state drive (SSD) is replaced because of a<br />
failure, no Product Recovery program is on the new drive. In this case, you must<br />
use the recovery discs for the computer. Order the recovery discs <strong>and</strong> the drive at<br />
the same time so that you can recover the new drive with the pre-installed<br />
software when they arrive. For information on which discs to order, see “Recovery<br />
discs” on page 243.<br />
To install the factory contents by using Product Recovery discs, do the following:<br />
Note: Recovery takes several hours. The length of time depends on the method<br />
you use. If you use recovery discs, recovery takes at least five hours.<br />
1. Insert the bootable Start Recovery Disc into the DVD drive.<br />
2. Select your language <strong>and</strong> click Next.<br />
3. Read the license. If you agree with the terms, select I accept these terms <strong>and</strong><br />
conditions <strong>and</strong> then click Next.<br />
4. Insert the Operating System Recovery Disc when prompted <strong>and</strong> click Yes to<br />
begin the operating system recovery process.<br />
5. Insert the Product Recovery Disc when prompted <strong>and</strong> click OK.<br />
6. If you have a Supplemental Recovery Disc, insert it when prompted <strong>and</strong> click<br />
Yes. If you do not have a Supplemental Recovery Disc, click No.<br />
Note: Not all recovery disc sets come with a Supplemental Recovery Disc. If<br />
there is a Supplemental Recovery Disc, it will be clearly marked as such.<br />
7. When all of the data has been copied from the last disc in the set, a message is<br />
displayed prompting you to restart the computer. Remove the disc <strong>and</strong> then<br />
click Yes.<br />
Note: The remainder of the recovery process is fully automated <strong>and</strong> no action<br />
is required by you. The computer will restart into the Windows desktop several<br />
times <strong>and</strong> you might experience periods when no activity is apparent on the<br />
screen for several minutes at a time. This is normal.<br />
© Copyright <strong>Lenovo</strong> 2008, 2009 55