Thinkpad T500 and W500 Hardware Maintenance Manual - Lenovo
Thinkpad T500 and W500 Hardware Maintenance Manual - Lenovo
Thinkpad T500 and W500 Hardware Maintenance Manual - Lenovo

Create successful ePaper yourself
Turn your PDF publications into a flip-book with our unique Google optimized e-Paper software.
Passwords<br />
5. Read the license. If you agree with the terms <strong>and</strong> conditions, select I accept<br />
these terms <strong>and</strong> conditions <strong>and</strong> then click Next. If you do not agree with the<br />
terms <strong>and</strong> conditions, follow the instructions on the screen.<br />
6. Click Yes in the displayed window to begin the operating system recovery<br />
process.<br />
7. Insert the Applications <strong>and</strong> Drivers Recovery Disc when prompted <strong>and</strong> then click<br />
OK to begin the applications <strong>and</strong> drivers recovery process.<br />
8. If you have a Supplemental Recovery Disc, insert it when prompted <strong>and</strong> click<br />
Yes. If you do not have a Supplemental Recovery Disc, click No.<br />
9. When all of the data has been copied from the last disc in the set <strong>and</strong> has<br />
been processed, remove the disc <strong>and</strong> restart the computer.<br />
Note: The rest of the recovery process is fully automated <strong>and</strong> no action is<br />
required by you. The computer will restart into the Microsoft Windows<br />
desktop several times <strong>and</strong> you might experience periods when no activity is<br />
apparent on the screen for several minutes at a time. This is normal.<br />
10. When the recovery process is complete, the Set Up Windows screen is<br />
displayed. Follow the instructions on the screen to complete the Windows<br />
setup.<br />
11. After you have completed the Windows setup, you might want to restore the<br />
original startup sequence. Start the Setup Utility program <strong>and</strong> then press F9 to<br />
restore the default settings. Press F10 to save <strong>and</strong> exit the Setup Utility.<br />
Note: After restoring a drive to the factory default settings, you might need to<br />
reinstall some device drivers.<br />
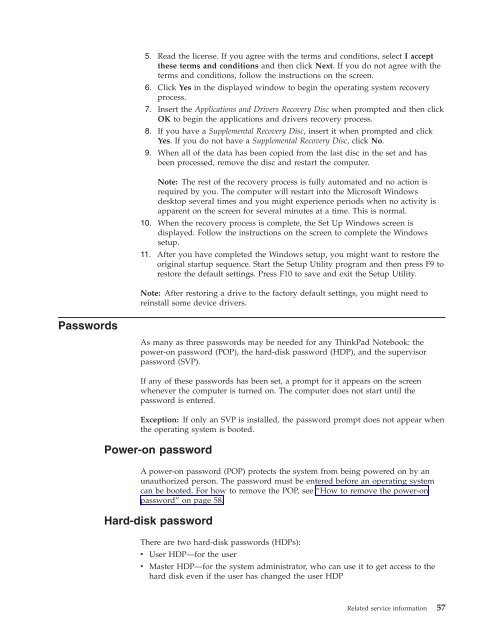
As many as three passwords may be needed for any ThinkPad Notebook: the<br />
power-on password (POP), the hard-disk password (HDP), <strong>and</strong> the supervisor<br />
password (SVP).<br />
If any of these passwords has been set, a prompt for it appears on the screen<br />
whenever the computer is turned on. The computer does not start until the<br />
password is entered.<br />
Exception: If only an SVP is installed, the password prompt does not appear when<br />
the operating system is booted.<br />
Power-on password<br />
A power-on password (POP) protects the system from being powered on by an<br />
unauthorized person. The password must be entered before an operating system<br />
can be booted. For how to remove the POP, see “How to remove the power-on<br />
password” on page 58.<br />
Hard-disk password<br />
There are two hard-disk passwords (HDPs):<br />
v User HDP—for the user<br />
v Master HDP—for the system administrator, who can use it to get access to the<br />
hard disk even if the user has changed the user HDP<br />
Related service information 57