V25 Getting Started - BobCAD-CAM
V25 Getting Started - BobCAD-CAM
V25 Getting Started - BobCAD-CAM

You also want an ePaper? Increase the reach of your titles
YUMPU automatically turns print PDFs into web optimized ePapers that Google loves.
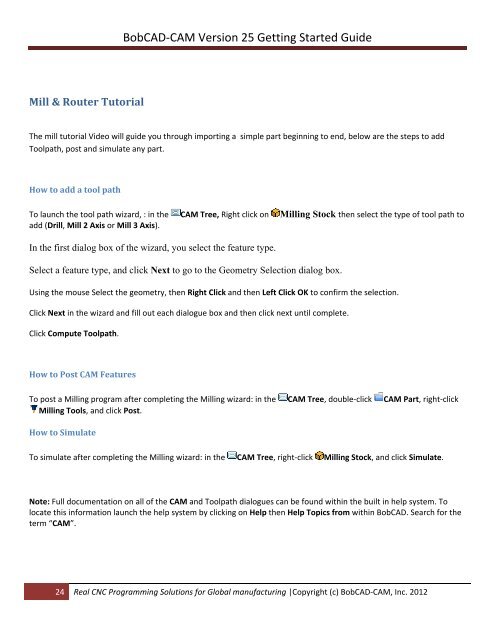
<strong>BobCAD</strong>‐<strong>CAM</strong> Version 25 <strong>Getting</strong> <strong>Started</strong> Guide<br />
Mill & Router Tutorial<br />
The mill tutorial Video will guide you through importing a simple part beginning to end, below are the steps to add<br />
Toolpath, post and simulate any part.<br />
How to add a tool path<br />
To launch the tool path wizard, : in the <strong>CAM</strong> Tree, Right click on Milling Stock then select the type of tool path to<br />
add (Drill, Mill 2 Axis or Mill 3 Axis).<br />
In the first dialog box of the wizard, you select the feature type.<br />
Select a feature type, and click Next to go to the Geometry Selection dialog box.<br />
Using the mouse Select the geometry, then Right Click and then Left Click OK to confirm the selection.<br />
Click Next in the wizard and fill out each dialogue box and then click next until complete.<br />
Click Compute Toolpath.<br />
How to Post <strong>CAM</strong> Features<br />
To post a Milling program after completing the Milling wizard: in the <strong>CAM</strong> Tree, double‐click <strong>CAM</strong> Part, right‐click<br />
Milling Tools, and click Post.<br />
How to Simulate<br />
To simulate after completing the Milling wizard: in the <strong>CAM</strong> Tree, right‐click Milling Stock, and click Simulate.<br />
Note: Full documentation on all of the <strong>CAM</strong> and Toolpath dialogues can be found within the built in help system. To<br />
locate this information launch the help system by clicking on Help then Help Topics from within <strong>BobCAD</strong>. Search for the<br />
term “<strong>CAM</strong>”.<br />
24 Real CNC Programming Solutions for Global manufacturing |Copyright (c) <strong>BobCAD</strong>‐<strong>CAM</strong>, Inc. 2012