StreamPro ADCP Operation Manual - global site
StreamPro ADCP Operation Manual - global site
StreamPro ADCP Operation Manual - global site
- No tags were found...
You also want an ePaper? Increase the reach of your titles
YUMPU automatically turns print PDFs into web optimized ePapers that Google loves.
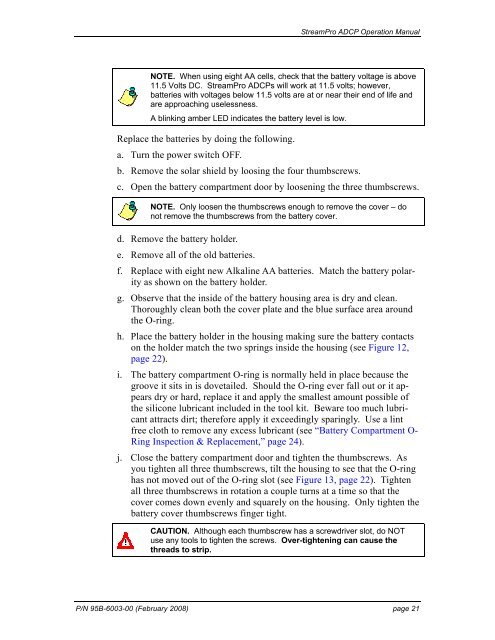
<strong>StreamPro</strong> <strong>ADCP</strong> <strong>Operation</strong> <strong>Manual</strong>NOTE. When using eight AA cells, check that the battery voltage is above11.5 Volts DC. <strong>StreamPro</strong> <strong>ADCP</strong>s will work at 11.5 volts; however,batteries with voltages below 11.5 volts are at or near their end of life andare approaching uselessness.A blinking amber LED indicates the battery level is low.Replace the batteries by doing the following.a. Turn the power switch OFF.b. Remove the solar shield by loosing the four thumbscrews.c. Open the battery compartment door by loosening the three thumbscrews.NOTE. Only loosen the thumbscrews enough to remove the cover – donot remove the thumbscrews from the battery cover.d. Remove the battery holder.e. Remove all of the old batteries.f. Replace with eight new Alkaline AA batteries. Match the battery polarityas shown on the battery holder.g. Observe that the inside of the battery housing area is dry and clean.Thoroughly clean both the cover plate and the blue surface area aroundthe O-ring.h. Place the battery holder in the housing making sure the battery contactson the holder match the two springs inside the housing (see Figure 12,page 22).i. The battery compartment O-ring is normally held in place because thegroove it sits in is dovetailed. Should the O-ring ever fall out or it appearsdry or hard, replace it and apply the smallest amount possible ofthe silicone lubricant included in the tool kit. Beware too much lubricantattracts dirt; therefore apply it exceedingly sparingly. Use a lintfree cloth to remove any excess lubricant (see “Battery Compartment O-Ring Inspection & Replacement,” page 24).j. Close the battery compartment door and tighten the thumbscrews. Asyou tighten all three thumbscrews, tilt the housing to see that the O-ringhas not moved out of the O-ring slot (see Figure 13, page 22). Tightenall three thumbscrews in rotation a couple turns at a time so that thecover comes down evenly and squarely on the housing. Only tighten thebattery cover thumbscrews finger tight.CAUTION. Although each thumbscrew has a screwdriver slot, do NOTuse any tools to tighten the screws. Over-tightening can cause thethreads to strip.P/N 95B-6003-00 (February 2008) page 21


