Aspire PCPro/WebPro Installation Manual - Support - NEC Unified ...
Aspire PCPro/WebPro Installation Manual - Support - NEC Unified ...
Aspire PCPro/WebPro Installation Manual - Support - NEC Unified ...
- No tags were found...

You also want an ePaper? Increase the reach of your titles
YUMPU automatically turns print PDFs into web optimized ePapers that Google loves.
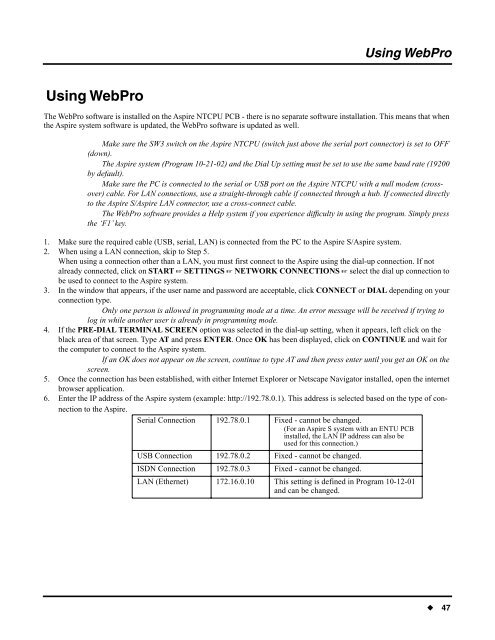
Using <strong>WebPro</strong>Using <strong>WebPro</strong>Using <strong>WebPro</strong>The <strong>WebPro</strong> software is installed on the <strong>Aspire</strong> NTCPU PCB - there is no separate software installation. This means that whenthe <strong>Aspire</strong> system software is updated, the <strong>WebPro</strong> software is updated as well.Make sure the SW3 switch on the <strong>Aspire</strong> NTCPU (switch just above the serial port connector) is set to OFF(down).The <strong>Aspire</strong> system (Program 10-21-02) and the Dial Up setting must be set to use the same baud rate (19200by default).Make sure the PC is connected to the serial or USB port on the <strong>Aspire</strong> NTCPU with a null modem (crossover)cable. For LAN connections, use a straight-through cable if connected through a hub. If connected directlyto the <strong>Aspire</strong> S/<strong>Aspire</strong> LAN connector, use a cross-connect cable.The <strong>WebPro</strong> software provides a Help system if you experience difficulty in using the program. Simply pressthe ‘F1’ key.1. Make sure the required cable (USB, serial, LAN) is connected from the PC to the <strong>Aspire</strong> S/<strong>Aspire</strong> system.2. When using a LAN connection, skip to Step 5.When using a connection other than a LAN, you must first connect to the <strong>Aspire</strong> using the dial-up connection. If notalready connected, click on START ☞ SETTINGS ☞ NETWORK CON<strong>NEC</strong>TIONS ☞ select the dial up connection tobe used to connect to the <strong>Aspire</strong> system.3. In the window that appears, if the user name and password are acceptable, click CON<strong>NEC</strong>T or DIAL depending on yourconnection type.Only one person is allowed in programming mode at a time. An error message will be received if trying tolog in while another user is already in programming mode.4. If the PRE-DIAL TERMINAL SCREEN option was selected in the dial-up setting, when it appears, left click on theblack area of that screen. Type AT and press ENTER. Once OK has been displayed, click on CONTINUE and wait forthe computer to connect to the <strong>Aspire</strong> system.If an OK does not appear on the screen, continue to type AT and then press enter until you get an OK on thescreen.5. Once the connection has been established, with either Internet Explorer or Netscape Navigator installed, open the internetbrowser application.6. Enter the IP address of the <strong>Aspire</strong> system (example: http://192.78.0.1). This address is selected based on the type of connectionto the <strong>Aspire</strong>.Serial Connection 192.78.0.1 Fixed - cannot be changed.(For an <strong>Aspire</strong> S system with an ENTU PCBinstalled, the LAN IP address can also beused for this connection.)USB Connection 192.78.0.2 Fixed - cannot be changed.ISDN Connection 192.78.0.3 Fixed - cannot be changed.LAN (Ethernet) 172.16.0.10 This setting is defined in Program 10-12-01and can be changed.◆ 47