Tactics, techniques, and procedures for - Army Electronic ...
Tactics, techniques, and procedures for - Army Electronic ...
Tactics, techniques, and procedures for - Army Electronic ...
You also want an ePaper? Increase the reach of your titles
YUMPU automatically turns print PDFs into web optimized ePapers that Google loves.
FM 42-414<br />
drainage ditches are located at about the same points. (Under TOE 42414L0, laundry platoons stay in the<br />
company area, <strong>and</strong> the shower “teams” deploy <strong>for</strong>ward.)<br />
NOTE: In conjunction with showering when delousing operations need to be done, requiring power<br />
equipment, a GP medium tent or a 16- by 20-foot TEMPER tent can be requested. Delousing should not<br />
take place in the tents where soldiers are undressing, showering, or dressing. Soldiers should be fumigated<br />
outside in good weather when there is no wind. However, if there is bad weather, fumigating should take<br />
place in a separate tent.<br />
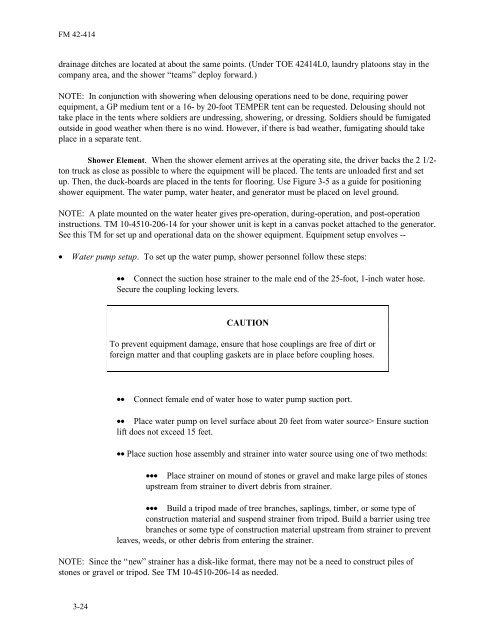
Shower Element. When the shower element arrives at the operating site, the driver backs the 2 1/2ton<br />
truck as close as possible to where the equipment will be placed. The tents are unloaded first <strong>and</strong> set<br />
up. Then, the duck-boards are placed in the tents <strong>for</strong> flooring. Use Figure 3-5 as a guide <strong>for</strong> positioning<br />
shower equipment. The water pump, water heater, <strong>and</strong> generator must be placed on level ground.<br />
NOTE: A plate mounted on the water heater gives pre-operation, during-operation, <strong>and</strong> post-operation<br />
instructions. TM 10-4510-206-14 <strong>for</strong> your shower unit is kept in a canvas pocket attached to the generator.<br />
See this TM <strong>for</strong> set up <strong>and</strong> operational data on the shower equipment. Equipment setup envolves --<br />
• Water pump setup. To set up the water pump, shower personnel follow these steps:<br />
3-24<br />
•• Connect the suction hose strainer to the male end of the 25-foot, 1-inch water hose.<br />
Secure the coupling locking levers.<br />
CAUTION<br />
To prevent equipment damage, ensure that hose couplings are free of dirt or<br />
<strong>for</strong>eign matter <strong>and</strong> that coupling gaskets are in place be<strong>for</strong>e coupling hoses.<br />
•• Connect female end of water hose to water pump suction port.<br />
•• Place water pump on level surface about 20 feet from water source> Ensure suction<br />
lift does not exceed 15 feet.<br />
•• Place suction hose assembly <strong>and</strong> strainer into water source using one of two methods:<br />
••• Place strainer on mound of stones or gravel <strong>and</strong> make large piles of stones<br />
upstream from strainer to divert debris from strainer.<br />
••• Build a tripod made of tree branches, saplings, timber, or some type of<br />
construction material <strong>and</strong> suspend strainer from tripod. Build a barrier using tree<br />
branches or some type of construction material upstream from strainer to prevent<br />
leaves, weeds, or other debris from entering the strainer.<br />
NOTE: Since the “new” strainer has a disk-like <strong>for</strong>mat, there may not be a need to construct piles of<br />
stones or gravel or tripod. See TM 10-4510-206-14 as needed.


