

Samsung i70 - User Manual_7.56 MB, pdf, ENGLISH
Samsung i70 - User Manual_7.56 MB, pdf, ENGLISH
Samsung i70 - User Manual_7.56 MB, pdf, ENGLISH

You also want an ePaper? Increase the reach of your titles
YUMPU automatically turns print PDFs into web optimized ePapers that Google loves.
Starting the recording mode<br />
How to use the AUTO mode ( )<br />
Please select this mode for quick and easy picture taking with minimal user<br />
interaction.<br />
1. Insert the battery (p.11) taking note of the<br />
correct polarity (+ / -).<br />
2. Insert the memory card (p.11). As this camera<br />
has a 10<strong>MB</strong> internal memory, it is not essential<br />
to insert the memory card.<br />
If the memory card is not inserted, an image<br />
will be stored in the internal memory.<br />
[AUTO mode]<br />
If the memory card is inserted, an image will be<br />
stored on the memory card.<br />
3. Close the battery chamber cover.<br />
4. Press the power button to turn on the camera.<br />
(If the date / time that is displayed on the LCD monitor is incorrect, reset the<br />
date / time before taking a picture.)<br />
5. Select the Auto mode by pressing the Mode button (p.16, 29).<br />
6. Point the camera towards the subject and compose the image.<br />
7. Press the shutter button to capture an image.<br />
INFORMATION<br />
If the auto focus frame turns to red when you press the shutter button down<br />
half way, it means that the camera cannot focus on the subject. Should this<br />
be the case, the camera is unable to capture an image clearly.<br />
How to use the PROGRAM mode ( )<br />
Selecting the program mode will configure the<br />
camera with optimal settings.<br />
You can still manually configure all functions<br />
except the aperture value and shutter speed.<br />
1. Select the Program mode by pressing the<br />
Mode button.<br />
2. Press the menu button to configure advanced<br />
functions such as image size, quality, effects,<br />
sharpness, metering and etc. (p.29~44)<br />
[PROGRAM mode]<br />
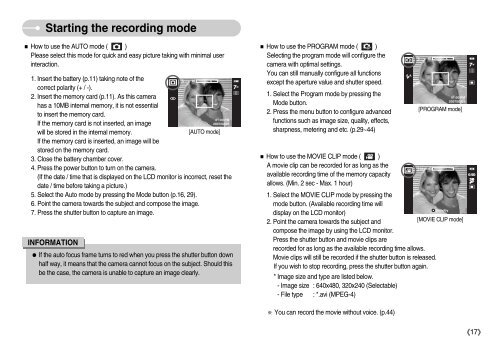
How to use the MOVIE CLIP mode ( )<br />
A movie clip can be recorded for as long as the<br />
available recording time of the memory capacity<br />
allows. (Min. 2 sec - Max. 1 hour)<br />
1. Select the MOVIE CLIP mode by pressing the<br />
mode button. (Available recording time will<br />
display on the LCD monitor)<br />
2. Point the camera towards the subject and<br />
[MOVIE CLIP mode]<br />
compose the image by using the LCD monitor.<br />
Press the shutter button and movie clips are<br />
recorded for as long as the available recording time allows.<br />
Movie clips will still be recorded if the shutter button is released.<br />
If you wish to stop recording, press the shutter button again.<br />
* Image size and type are listed below.<br />
- Image size : 640x480, 320x240 (Selectable)<br />
- File type : *.avi (MPEG-4)<br />
You can record the movie without voice. (p.44)<br />
17


