digital video camera gr-dvx707 gr-dvx507 gr-dvx407 gr-dvx400 - JVC
digital video camera gr-dvx707 gr-dvx507 gr-dvx407 gr-dvx400 - JVC
digital video camera gr-dvx707 gr-dvx507 gr-dvx407 gr-dvx400 - JVC

You also want an ePaper? Increase the reach of your titles
YUMPU automatically turns print PDFs into web optimized ePapers that Google loves.
EN 31<br />
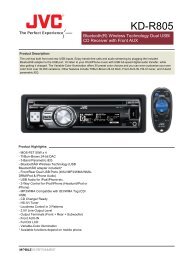
Removing On-Screen Display<br />
1 Perform steps 1 – 6 of “Normal Playback Of<br />
Images” ( pg. 28).<br />
2 Press the MENU Wheel in. The Menu Screen<br />
appears.<br />
3 Rotate the MENU Wheel to select<br />
“n DISPLAY”, and press it. The Sub Menu<br />
appears.<br />
4 Rotate the MENU Wheel to select “OFF”, and<br />
press it. The operation mode indicator and<br />
battery indicator ( ) disappear.<br />
● To display the indicators again, select “ON”.<br />
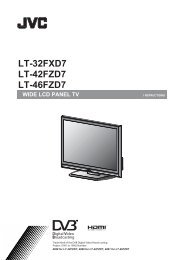
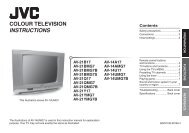
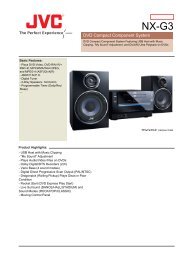
Operation mode indicator<br />
Battery indicator<br />
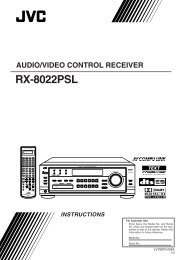
Protecting Files<br />
The Protect mode helps prevent the accidental<br />
erasure of files.<br />
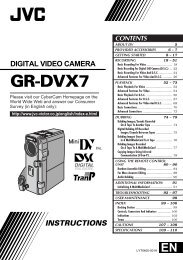
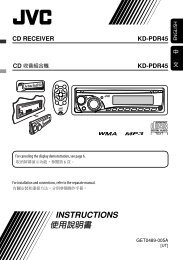
SELECT Button<br />
(GR-DVX707 only)<br />
Rewind Button (3)<br />
Fast-Forward Button (5)<br />
VIDEO/MEMORY Switch<br />
Power Switch<br />
PLAY<br />
OFF<br />
A<br />
M<br />
MENU Wheel<br />
Lock Button<br />
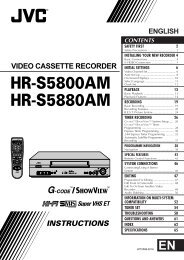
MENU<br />
DISPLAY OFF<br />
ON<br />
RETURN<br />
1 Load a memory card. ( pg. 17)<br />
2 Set the VIDEO/MEMORY Switch to “MEMORY”.<br />
3 Set the Power Switch to “P” while pressing<br />
down the Lock Button located on the switch.<br />
4 Open the LCD monitor fully, or pull out the<br />
viewfinder fully.<br />
● The type of file (IMAGE, E-MAIL CLIP or<br />
SOUND) which has been played back at the<br />
last time is displayed.<br />
If you want to select another type of file, go to<br />
step 5.<br />
If not, go to step 7.<br />
5 Press SELECT. The MEMORY SELECT screen<br />
appears.<br />
6 Rotate the MENU Wheel to select the desired<br />
type of file, and press it.<br />
7 Press the MENU Wheel in. The Menu Screen<br />
appears.<br />
CONTINUED ON NEXT PAGE