digital video camera gr-dvx707 gr-dvx507 gr-dvx407 gr-dvx400 - JVC
digital video camera gr-dvx707 gr-dvx507 gr-dvx407 gr-dvx400 - JVC
digital video camera gr-dvx707 gr-dvx507 gr-dvx407 gr-dvx400 - JVC

Create successful ePaper yourself
Turn your PDF publications into a flip-book with our unique Google optimized e-Paper software.
56 EN<br />
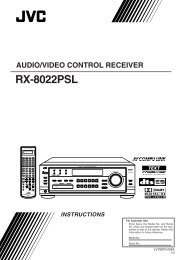
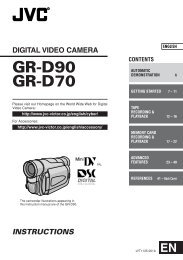
MENU Wheel<br />
VIDEO/MEMORY<br />
Switch<br />
(GR-DVX707/507<br />
only)<br />
Power Switch<br />
PLAY<br />
OFF<br />
A<br />
M<br />
FEATURES FOR RECORDING (cont.)<br />
To return to automatic exposure control...<br />
For GR-DVX707/507:<br />
Set “p EXPOSURE” to “AUTO”. ( pg. 43) Or, set<br />
the Power Switch to “A”.<br />
For GR-DVX407/400:<br />
Press EXPOSURE twice. Or, set the Power Switch to<br />
“A”.<br />
● If EXPOSURE is pressed once, the camcorder will<br />
enter the exposure control mode again.<br />
NOTE:<br />
You cannot use the manual exposure control at the<br />
same time when “r PROGRAM AE” is set to<br />
“SPOTLIGHT” or “SNOW” ( pg. 38, 42), or with<br />
the backlight compensation. ( pg. 57)<br />
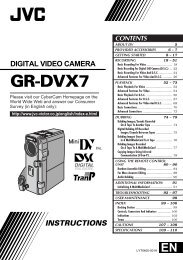
EXPOSURE Button<br />
(GR-DVX407/400 only)<br />
Lock Button<br />
Exposure Control<br />
Manual exposure control is recommended in the<br />
following situations:<br />
● When shooting using reverse lighting or when the<br />
back<strong>gr</strong>ound is too bright.<br />
● When shooting on a reflective natural back<strong>gr</strong>ound<br />
such as at the beach or when skiing.<br />
● When the back<strong>gr</strong>ound is overly dark or the subject<br />
is bright.<br />
Before starting, perform the procedures listed<br />
below:<br />
● Set the Power Switch to “M” while pressing down<br />
the Lock Button located on the switch.<br />
● Open the LCD monitor fully, or pull out the<br />
viewfinder fully.<br />
1 For GR-DVX707/507:<br />
Set “p EXPOSURE” to “MANUAL”. ( pg. 43)<br />
For GR-DVX407/400:<br />
Press EXPOSURE.<br />
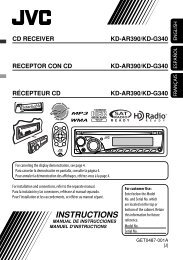
● The exposure control indicator appears.<br />
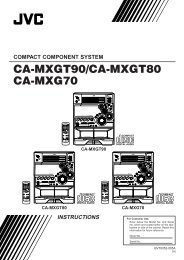
2 To brighten the image, rotate the MENU Wheel<br />
towards “+”. To darken the image, rotate the<br />
MENU Wheel towards “–”. (maximum ±6)<br />
● +3 exposure has the same effect as the<br />
backlight compensation. ( pg. 57)<br />
● –3 exposure has the same effect as when<br />
“r PROGRAM AE” is set to “SPOTLIGHT”.<br />
( pg. 42)<br />
3 Press the MENU Wheel in. Exposure adjustment<br />
is complete.