digital video camera gr-dvx707 gr-dvx507 gr-dvx407 gr-dvx400 - JVC
digital video camera gr-dvx707 gr-dvx507 gr-dvx407 gr-dvx400 - JVC
digital video camera gr-dvx707 gr-dvx507 gr-dvx407 gr-dvx400 - JVC

Create successful ePaper yourself
Turn your PDF publications into a flip-book with our unique Google optimized e-Paper software.
EN 77<br />
For More Accurate Editing<br />
Some VCRs make the transition from Record-Pause<br />
to Record mode faster than others. Even if you begin<br />
editing for the camcorder and the VCR at exactly the<br />
same time, you may lose scenes you wanted, or find<br />
that you have recorded scenes you did not want. For<br />
a cleanly edited tape, confirm and adjust the timing<br />
of the camcorder against your VCR.<br />
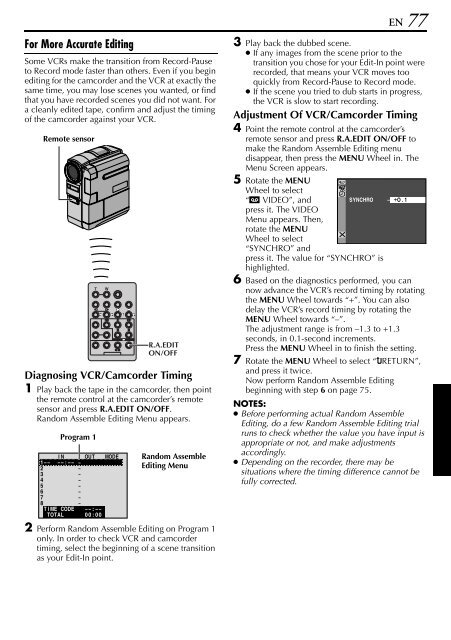
Remote sensor<br />
R.A.EDIT<br />
ON/OFF<br />
Diagnosing VCR/Camcorder Timing<br />
1 Play back the tape in the camcorder, then point<br />
the remote control at the camcorder’s remote<br />
sensor and press R.A.EDIT ON/OFF.<br />
Random Assemble Editing Menu appears.<br />
Pro<strong>gr</strong>am 1<br />
I N OUT MODE<br />
1 ––<br />
2<br />
3<br />
4<br />
5<br />
6<br />
7<br />
8<br />
––:–– ~<br />
~<br />
~<br />
~<br />
~<br />
~<br />
~<br />
~<br />
TIME<br />
– – : ––<br />
TOTAL CODE<br />
00 : 00<br />
Random Assemble<br />
Editing Menu<br />
2 Perform Random Assemble Editing on Pro<strong>gr</strong>am 1<br />
only. In order to check VCR and camcorder<br />
timing, select the beginning of a scene transition<br />
as your Edit-In point.<br />
3 Play back the dubbed scene.<br />
● If any images from the scene prior to the<br />
transition you chose for your Edit-In point were<br />
recorded, that means your VCR moves too<br />
quickly from Record-Pause to Record mode.<br />
● If the scene you tried to dub starts in pro<strong>gr</strong>ess,<br />
the VCR is slow to start recording.<br />
Adjustment Of VCR/Camcorder Timing<br />
4 Point the remote control at the camcorder’s<br />
remote sensor and press R.A.EDIT ON/OFF to<br />
make the Random Assemble Editing menu<br />
disappear, then press the MENU Wheel in. The<br />
Menu Screen appears.<br />
5 Rotate the MENU<br />
Wheel to select<br />
“t VIDEO”, and<br />
press it. The VIDEO<br />
Menu appears. Then,<br />
rotate the MENU<br />
Wheel to select<br />
“SYNCHRO” and<br />
SYNCHRO<br />
– O.1<br />
press it. The value for “SYNCHRO” is<br />
highlighted.<br />
6 Based on the diagnostics performed, you can<br />
now advance the VCR’s record timing by rotating<br />
the MENU Wheel towards “+”. You can also<br />
delay the VCR’s record timing by rotating the<br />
MENU Wheel towards “–”.<br />
The adjustment range is from –1.3 to +1.3<br />
seconds, in 0.1-second increments.<br />
Press the MENU Wheel in to finish the setting.<br />
7 Rotate the MENU Wheel to select “BRETURN”,<br />
and press it twice.<br />
Now perform Random Assemble Editing<br />
beginning with step 6 on page 75.<br />
NOTES:<br />
● Before performing actual Random Assemble<br />
Editing, do a few Random Assemble Editing trial<br />
runs to check whether the value you have input is<br />
appropriate or not, and make adjustments<br />
accordingly.<br />
● Depending on the recorder, there may be<br />
situations where the timing difference cannot be<br />
fully corrected.