
Create successful ePaper yourself
Turn your PDF publications into a flip-book with our unique Google optimized e-Paper software.
Scanning with the "Scanner and Camera Wizard" in Windows XP<br />
Windows XP includes as a standard feature an image scanning function. The<br />
procedure for scanning with the "Scanner and Camera Wizard" is explained here.<br />
To cancel scanning, click the "Cancel" button in the screen that is<br />
displayed.<br />
1<br />
2<br />
Place the original you wish to scan on the document glass/SPF.<br />
For the procedure for placing the original, see "ORIGINAL PLACEMENT"<br />
(p.15).<br />
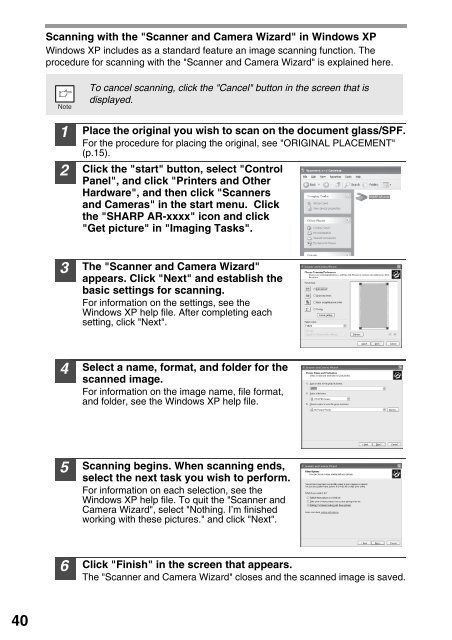
Click the "start" button, select "Control<br />
Panel", and click "Printers and Other<br />
Hardware", and then click "Scanners<br />
SH<strong>AR</strong>P <strong>AR</strong>-xxxx<br />
and Cameras" in the start menu. Click<br />
the "SH<strong>AR</strong>P <strong>AR</strong>-xxxx" icon and click<br />
"Get picture" in "Imaging Tasks".<br />
3<br />
The "Scanner and Camera Wizard"<br />
appears. Click "Next" and establish the<br />
basic settings for scanning.<br />
For information on the settings, see the<br />
Windows XP help file. After completing each<br />
setting, click "Next".<br />
4<br />
Select a name, format, and folder for the<br />
scanned image.<br />
For information on the image name, file format,<br />
and folder, see the Windows XP help file.<br />
5<br />
Scanning begins. When scanning ends,<br />
select the next task you wish to perform.<br />
For information on each selection, see the<br />
Windows XP help file. To quit the "Scanner and<br />
Camera Wizard", select "Nothing. I’m finished<br />
working with these pictures." and click "Next".<br />
6<br />
Click "Finish" in the screen that appears.<br />
The "Scanner and Camera Wizard" closes and the scanned image is saved.<br />
40