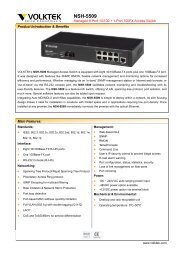
NSH-566 Modularized 24 (100Base-FX) + 2G Access Switch
NSH-566 Modularized 24 (100Base-FX) + 2G Access Switch
NSH-566 Modularized 24 (100Base-FX) + 2G Access Switch

You also want an ePaper? Increase the reach of your titles
YUMPU automatically turns print PDFs into web optimized ePapers that Google loves.
<strong>Modularized</strong> <strong>24</strong>+<strong>2G</strong> <strong>Switch</strong><br />
5 Menu-Driven Interface via Telnet<br />
This section provides some basic instructions to using Menu-Driven<br />
Interface to configure the <strong>Switch</strong>. Follow the instructions below:<br />
1. Open a Command Prompt window and type<br />
telnet xxx.xxx.xxx.xxx where xxx represents the IP address.<br />
As an example, we’ll continue to use the IP address configured<br />
in part A of this manual: 192.168.0.197<br />
2. Then “Press key to start”<br />
3. The default Login name is “admin” with no preset password.<br />
The system provides a menu-driven user interfaces via console or<br />
telnet. After you log into the system, you will see a window similar<br />
to that as the console interface like in the section one. To use the<br />
management facilities of the <strong>Switch</strong> via telnet, please see section<br />
four.<br />
107