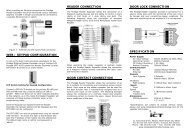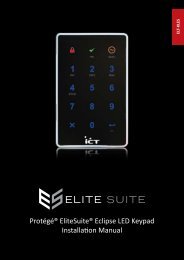
Protégé® Eclipse LED Keypad Installation Manual
Protégé® Eclipse LED Keypad Installation Manual
Protégé® Eclipse LED Keypad Installation Manual
- No tags were found...

Create successful ePaper yourself
Turn your PDF publications into a flip-book with our unique Google optimized e-Paper software.
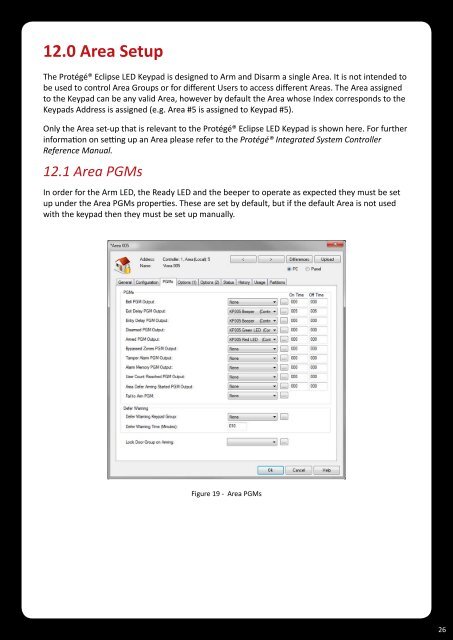
12.0 Area SetupThe <strong>Protégé®</strong> <strong>Eclipse</strong> <strong>LED</strong> <strong>Keypad</strong> is designed to Arm and Disarm a single Area. It is not intended tobe used to control Area Groups or for different Users to access different Areas. The Area assignedto the <strong>Keypad</strong> can be any valid Area, however by default the Area whose Index corresponds to the<strong>Keypad</strong>s Address is assigned (e.g. Area #5 is assigned to <strong>Keypad</strong> #5).Only the Area set-up that is relevant to the <strong>Protégé®</strong> <strong>Eclipse</strong> <strong>LED</strong> <strong>Keypad</strong> is shown here. For furtherinformation on setting up an Area please refer to the <strong>Protégé®</strong> Integrated System ControllerReference <strong>Manual</strong>.12.1 Area PGMsIn order for the Arm <strong>LED</strong>, the Ready <strong>LED</strong> and the beeper to operate as expected they must be setup under the Area PGMs properties. These are set by default, but if the default Area is not usedwith the keypad then they must be set up manually.Figure 19 - Area PGMs26