Moon Munchies 2 pdf - ER - NASA
Moon Munchies 2 pdf - ER - NASA
Moon Munchies 2 pdf - ER - NASA

Create successful ePaper yourself
Turn your PDF publications into a flip-book with our unique Google optimized e-Paper software.
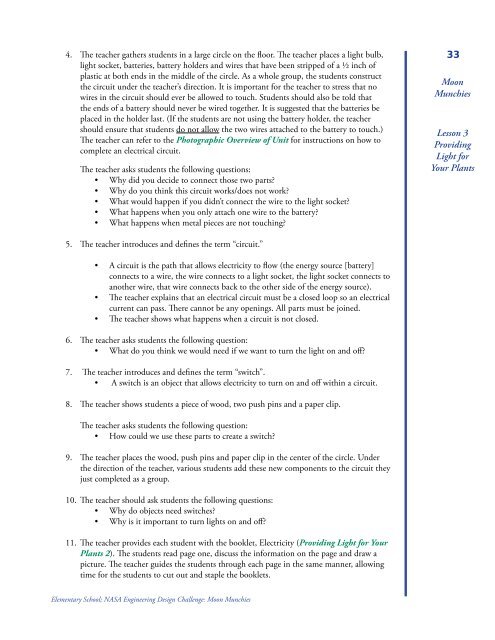
4.5.6.7.8.9.10.The teacher gathers students in a large circle on the floor. The teacher places a light bulb,light socket, batteries, battery holders and wires that have been stripped of a ½ inch ofplastic at both ends in the middle of the circle. As a whole group, the students constructthe circuit under the teacher’s direction. It is important for the teacher to stress that nowires in the circuit should ever be allowed to touch. Students should also be told thatthe ends of a battery should never be wired together. It is suggested that the batteries beplaced in the holder last. (If the students are not using the battery holder, the teachershould ensure that students do not allow the two wires attached to the battery to touch.)The teacher can refer to the Photographic Overview of Unit for instructions on how tocomplete an electrical circuit.The teacher asks students the following questions:• Why did you decide to connect those two parts?• Why do you think this circuit works/does not work?• What would happen if you didn’t connect the wire to the light socket?• What happens when you only attach one wire to the battery?• What happens when metal pieces are not touching?The teacher introduces and defines the term “circuit.”• A circuit is the path that allows electricity to flow (the energy source [battery]connects to a wire, the wire connects to a light socket, the light socket connects toanother wire, that wire connects back to the other side of the energy source).• The teacher explains that an electrical circuit must be a closed loop so an electricalcurrent can pass. There cannot be any openings. All parts must be joined.• The teacher shows what happens when a circuit is not closed.The teacher asks students the following question:• What do you think we would need if we want to turn the light on and off?The teacher introduces and defines the term “switch”.• A switch is an object that allows electricity to turn on and off within a circuit.The teacher shows students a piece of wood, two push pins and a paper clip.The teacher asks students the following question:• How could we use these parts to create a switch?The teacher places the wood, push pins and paper clip in the center of the circle. Underthe direction of the teacher, various students add these new components to the circuit theyjust completed as a group.The teacher should ask students the following questions:• Why do objects need switches?• Why is it important to turn lights on and off?33<strong>Moon</strong><strong>Munchies</strong>Lesson 3ProvidingLight forYour Plants11. The teacher provides each student with the booklet, Electricity ( Providing Light for YourPlants 2). The students read page one, discuss the information on the page and draw apicture. The teacher guides the students through each page in the same manner, allowingtime for the students to cut out and staple the booklets.Elementary School; <strong>NASA</strong> Engineering Design Challenge: <strong>Moon</strong> <strong>Munchies</strong>