ExpressCluster X 3.1 for Linux Getting Started Guide - Nec
ExpressCluster X 3.1 for Linux Getting Started Guide - Nec
ExpressCluster X 3.1 for Linux Getting Started Guide - Nec

You also want an ePaper? Increase the reach of your titles
YUMPU automatically turns print PDFs into web optimized ePapers that Google loves.
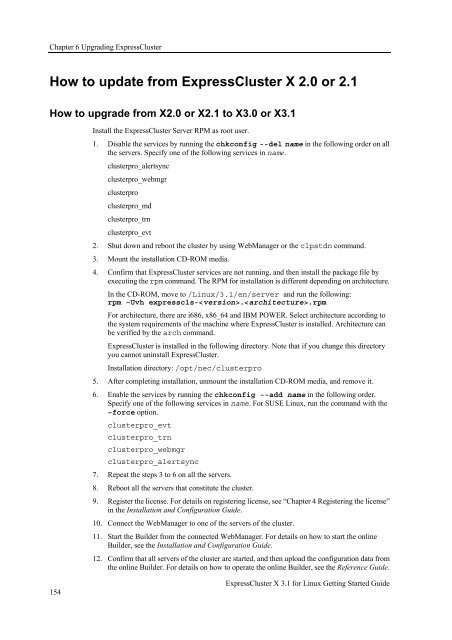
Chapter 6 Upgrading <strong>ExpressCluster</strong>How to update from <strong>ExpressCluster</strong> X 2.0 or 2.1How to upgrade from X2.0 or X2.1 to X3.0 or X<strong>3.1</strong>Install the <strong>ExpressCluster</strong> Server RPM as root user.1. Disable the services by running the chkconfig --del name in the following order on allthe servers. Specify one of the following services in name.clusterpro_alertsyncclusterpro_webmgrclusterproclusterpro_mdclusterpro_trnclusterpro_evt2. Shut down and reboot the cluster by using WebManager or the clpstdn command.3. Mount the installation CD-ROM media.4. Confirm that <strong>ExpressCluster</strong> services are not running, and then install the package file byexecuting the rpm command. The RPM <strong>for</strong> installation is different depending on architecture.In the CD-ROM, move to /<strong>Linux</strong>/<strong>3.1</strong>/en/server and run the following:rpm –Uvh expresscls-..rpmFor architecture, there are i686, x86_64 and IBM POWER. Select architecture according tothe system requirements of the machine where <strong>ExpressCluster</strong> is installed. Architecture canbe verified by the arch command.<strong>ExpressCluster</strong> is installed in the following directory. Note that if you change this directoryyou cannot uninstall <strong>ExpressCluster</strong>.Installation directory: /opt/nec/clusterpro5. After completing installation, unmount the installation CD-ROM media, and remove it.6. Enable the services by running the chkconfig --add name in the following order.Specify one of the following services in name. For SUSE <strong>Linux</strong>, run the command with the–<strong>for</strong>ce option.clusterpro_evtclusterpro_trnclusterpro_webmgrclusterpro_alertsync7. Repeat the steps 3 to 6 on all the servers.8. Reboot all the servers that constitute the cluster.9. Register the license. For details on registering license, see “Chapter 4 Registering the license”in the Installation and Configuration <strong>Guide</strong>.10. Connect the WebManager to one of the servers of the cluster.11. Start the Builder from the connected WebManager. For details on how to start the onlineBuilder, see the Installation and Configuration <strong>Guide</strong>.12. Confirm that all servers of the cluster are started, and then upload the configuration data fromthe online Builder. For details on how to operate the online Builder, see the Reference <strong>Guide</strong>.154<strong>ExpressCluster</strong> X <strong>3.1</strong> <strong>for</strong> <strong>Linux</strong> <strong>Getting</strong> <strong>Started</strong> <strong>Guide</strong>