ManageEngine Desktop Central :: Admin Guide
ManageEngine Desktop Central :: Admin Guide
ManageEngine Desktop Central :: Admin Guide
You also want an ePaper? Increase the reach of your titles
YUMPU automatically turns print PDFs into web optimized ePapers that Google loves.
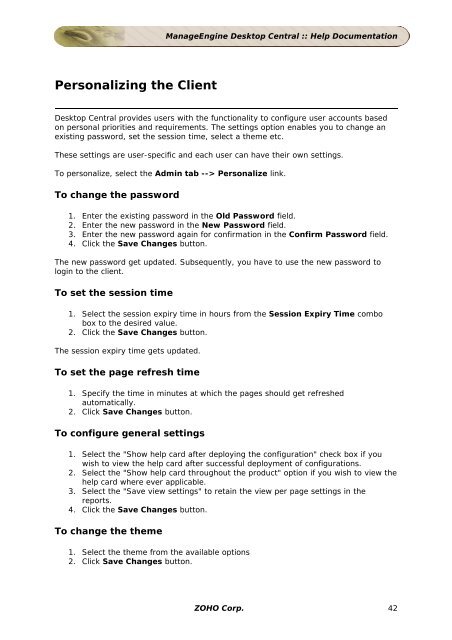
Personalizing the Client<br />
<strong>ManageEngine</strong> <strong>Desktop</strong> <strong>Central</strong> :: Help Documentation<br />
<strong>Desktop</strong> <strong>Central</strong> provides users with the functionality to configure user accounts based<br />
on personal priorities and requirements. The settings option enables you to change an<br />
existing password, set the session time, select a theme etc.<br />
These settings are user-specific and each user can have their own settings.<br />
To personalize, select the <strong>Admin</strong> tab --> Personalize link.<br />
To change the password<br />
1. Enter the existing password in the Old Password field.<br />
2. Enter the new password in the New Password field.<br />
3. Enter the new password again for confirmation in the Confirm Password field.<br />
4. Click the Save Changes button.<br />
The new password get updated. Subsequently, you have to use the new password to<br />
login to the client.<br />
To set the session time<br />
1. Select the session expiry time in hours from the Session Expiry Time combo<br />
box to the desired value.<br />
2. Click the Save Changes button.<br />
The session expiry time gets updated.<br />
To set the page refresh time<br />
1. Specify the time in minutes at which the pages should get refreshed<br />
automatically.<br />
2. Click Save Changes button.<br />
To configure general settings<br />
1. Select the "Show help card after deploying the configuration" check box if you<br />
wish to view the help card after successful deployment of configurations.<br />
2. Select the "Show help card throughout the product" option if you wish to view the<br />
help card where ever applicable.<br />
3. Select the "Save view settings" to retain the view per page settings in the<br />
reports.<br />
4. Click the Save Changes button.<br />
To change the theme<br />
1. Select the theme from the available options<br />
2. Click Save Changes button.<br />
ZOHO Corp. 42


