Perkins L4 Workshop Manual - L-36 Fleet
Perkins L4 Workshop Manual - L-36 Fleet
Perkins L4 Workshop Manual - L-36 Fleet
You also want an ePaper? Increase the reach of your titles
YUMPU automatically turns print PDFs into web optimized ePapers that Google loves.
I'<br />
u<br />
u .,<br />
u<br />
u 1<br />
..,<br />
1<br />
...,<br />
..,<br />
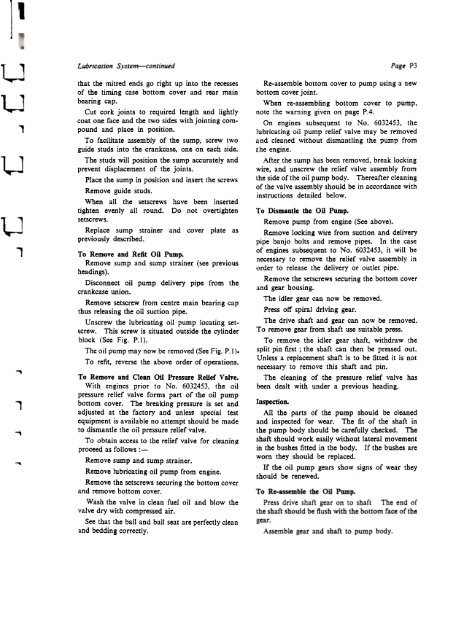
Lubricalion Sysiem-continued<br />
that the mitred ends go right up into the recesses<br />
of the timing case bottom cover and rear main<br />
hearing cap.<br />
Cut cork joints to required length and lightly<br />
coat one face and the two sides with jointing compound<br />
and place in position.<br />
To facilitate assembly of the sump, screw two<br />
guide studs into the crankcase, one on each side.<br />
The studs will position the sump accurately and<br />
prevent displacement of the joints.<br />
Place the sump in position and insert the screws<br />
Remove guide studs.<br />
When all the setscrews ha ve been inserted<br />
tighten evenly all round. Do not overtighten<br />
setscrews.<br />
Replace sump strainer and cover plate as<br />
previously described.<br />
To Remove and Refit OU Pump.<br />
Remove su mp and sump strainer (see previous<br />
headings).<br />
Disconnect Dil pump delivery pipe from the<br />
crankcase union.<br />
Remove setscrew from centre main hearing cap<br />
thus releasing the Dil suction pipe.<br />
Unscrew the lubricating oil pump locating setscrew.<br />
This screw is situated outside the cylinder<br />
block (See Fig. Pol).<br />
The oil pump may ncw be removed (See Fig. Pol).<br />
To refit, reverse the above order of operations.<br />
To Remove and Clean OU Pressure Relief Valve.<br />
With engines prior to No. 6032453. the oil<br />
pressure relief valve forms part of the oil pump<br />
bottom cover. The breaking pressure is set and<br />
adjusted at the factory and unless special test<br />
equipment is available no attempt should be made<br />
to dismantie the oil pressure relief valve.<br />
To obtain access to the relief valve foT cleanin.R<br />
proceed as follows :-<br />
Remove sump and sump strainer.<br />
Remove lubricating oil pump from engine.<br />
Remove the setscrews securing the bottom cover<br />
and remove bottom cover.<br />
Wash the valve in clean fuel oil and blow the<br />
valve dry with compressed air.<br />
Sec that the balI and bali seat are perfectly clean<br />
and bedding correctly.<br />
Page P3<br />
Re-assemble bottom cover to pump using a ncw<br />
bottom cover joint.<br />
When re-assembling bottom cover to pump,<br />
note the waming gjven on page P.4.<br />
On engines subsequent to No. 6032453, the<br />
lubricating oil pump relief valve may be rmloved<br />
and cleaned without dismantling the pump from<br />
the engine.<br />
Af ter the sump bas been removed, break locking<br />
wire, and unscrew the relief valve assembly from<br />
the side of the oil pump body. Thereafter cleaning<br />
of the valve assembly should be in accordance with<br />
instructions detailed below.<br />
To DismantIe the Oil Pump.<br />
Remove pump from engine (See above).<br />
Remove locking wire from suction and delivery<br />
pipe banjo balts and remove pipes. In the case<br />
of engines subsequent to No. 6032453, it will be<br />
necessary to remove the relief valve assembly in<br />
order to release the delivery or outlet pipe.<br />
Remove the setscrews securing the bottom cover<br />
and gear housing.<br />
Tbe idler gear can now be removed.<br />
Press off spiral driving gear.<br />
Tbe drive shaft and gear can now be removed.<br />
To remove gear from shaft use suitable press.<br />
To remove the idler gear shaft, withdraw the<br />
split pin fust ; the shaft caD then be pressed out.<br />
Unless areplacement shaft is to be fitted it is not<br />
necessary to remove this shaft and pin.<br />
Tbe cleaning of the pressure relief valve bas<br />
been dealt with under a previous heading.<br />
Inspection.<br />
All the parts of the pump should be cleaned<br />
and inspected for wear. The fit of the shaft in<br />
the pump body should be carefully checked. The<br />
shaft should work easily without lateral movement<br />
in the bushes fitted in the body. If the bushes are<br />
wom they should be replaced.<br />
If tbc oil pump gears show signs of wear they<br />
shouid be renewed.<br />
To Re-assemble<br />
the Dil Pump.<br />
Press drive shaft gear on to shaft The end of<br />
the shaft should be flush with the bottom face of the<br />
gear.<br />
Assembie gear and shaft to pump body.


