Ektron® eWebEditPro and eWebEditPro+XML Installation Manual
Ektron® eWebEditPro and eWebEditPro+XML Installation Manual
Ektron® eWebEditPro and eWebEditPro+XML Installation Manual

Create successful ePaper yourself
Turn your PDF publications into a flip-book with our unique Google optimized e-Paper software.
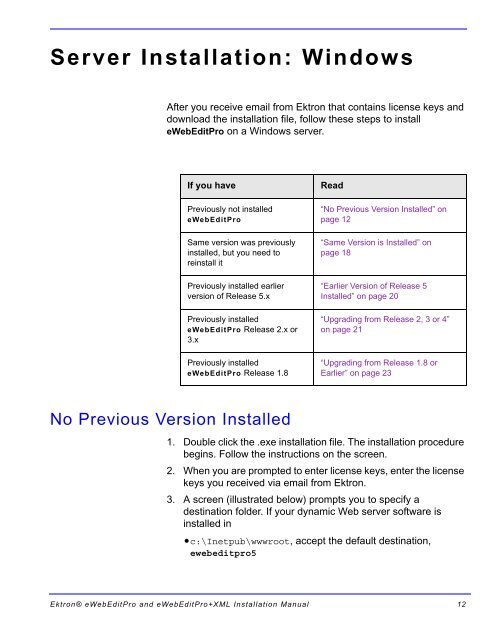
Server <strong>Installation</strong>: Windows<br />
After you receive email from Ektron that contains license keys <strong>and</strong><br />
download the installation file, follow these steps to install<br />
<strong>eWebEditPro</strong> on a Windows server.<br />
If you have Read<br />
Previously not installed<br />
<strong>eWebEditPro</strong><br />
Same version was previously<br />
installed, but you need to<br />
reinstall it<br />
Previously installed earlier<br />
version of Release 5.x<br />
Previously installed<br />
<strong>eWebEditPro</strong> Release 2.x or<br />
3.x<br />
Previously installed<br />
<strong>eWebEditPro</strong> Release 1.8<br />
No Previous Version Installed<br />
“No Previous Version Installed” on<br />
page 12<br />
“Same Version is Installed” on<br />
page 18<br />
“Earlier Version of Release 5<br />
Installed” on page 20<br />
“Upgrading from Release 2, 3 or 4”<br />
on page 21<br />
“Upgrading from Release 1.8 or<br />
Earlier” on page 23<br />
1. Double click the .exe installation file. The installation procedure<br />
begins. Follow the instructions on the screen.<br />
2. When you are prompted to enter license keys, enter the license<br />
keys you received via email from Ektron.<br />
3. A screen (illustrated below) prompts you to specify a<br />
destination folder. If your dynamic Web server software is<br />
installed in<br />
•c:\Inetpub\wwwroot, accept the default destination,<br />
ewebeditpro5<br />
<strong>Ektron®</strong> <strong>eWebEditPro</strong> <strong>and</strong> <strong>eWebEditPro</strong>+XML <strong>Installation</strong> <strong>Manual</strong> 12