Ektron® eWebEditPro and eWebEditPro+XML Installation Manual
Ektron® eWebEditPro and eWebEditPro+XML Installation Manual
Ektron® eWebEditPro and eWebEditPro+XML Installation Manual
Create successful ePaper yourself
Turn your PDF publications into a flip-book with our unique Google optimized e-Paper software.
Server <strong>Installation</strong>: Windows<br />
“After you receive email from Ektron that contains license<br />
keys <strong>and</strong> download the installation file, follow these steps to<br />
install <strong>eWebEditPro</strong> on a Windows server.” on page 12.<br />
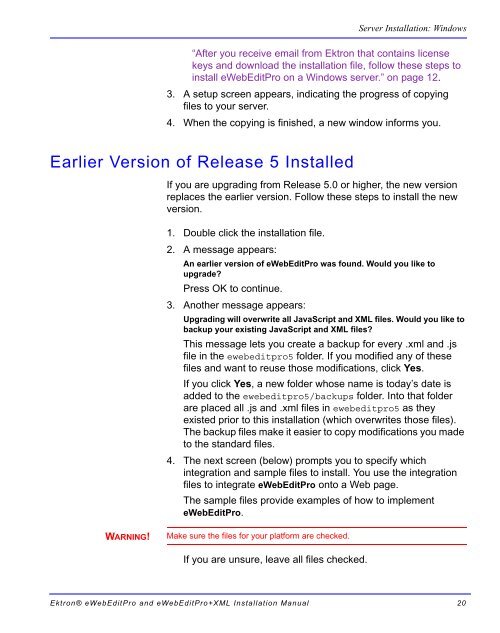
3. A setup screen appears, indicating the progress of copying<br />
files to your server.<br />
4. When the copying is finished, a new window informs you.<br />
Earlier Version of Release 5 Installed<br />
WARNING!<br />
If you are upgrading from Release 5.0 or higher, the new version<br />
replaces the earlier version. Follow these steps to install the new<br />
version.<br />
1. Double click the installation file.<br />
2. A message appears:<br />
An earlier version of <strong>eWebEditPro</strong> was found. Would you like to<br />
upgrade?<br />
Press OK to continue.<br />
3. Another message appears:<br />
Upgrading will overwrite all JavaScript <strong>and</strong> XML files. Would you like to<br />
backup your existing JavaScript <strong>and</strong> XML files?<br />
This message lets you create a backup for every .xml <strong>and</strong> .js<br />
file in the ewebeditpro5 folder. If you modified any of these<br />
files <strong>and</strong> want to reuse those modifications, click Yes.<br />
If you click Yes, a new folder whose name is today’s date is<br />
added to the ewebeditpro5/backups folder. Into that folder<br />
are placed all .js <strong>and</strong> .xml files in ewebeditpro5 as they<br />
existed prior to this installation (which overwrites those files).<br />
The backup files make it easier to copy modifications you made<br />
to the st<strong>and</strong>ard files.<br />
4. The next screen (below) prompts you to specify which<br />
integration <strong>and</strong> sample files to install. You use the integration<br />
files to integrate <strong>eWebEditPro</strong> onto a Web page.<br />
The sample files provide examples of how to implement<br />
<strong>eWebEditPro</strong>.<br />
Make sure the files for your platform are checked.<br />
If you are unsure, leave all files checked.<br />
<strong>Ektron®</strong> <strong>eWebEditPro</strong> <strong>and</strong> <strong>eWebEditPro</strong>+XML <strong>Installation</strong> <strong>Manual</strong> 20


