Girard Systems- Warranty and Freight Procedures
Girard Systems- Warranty and Freight Procedures
Girard Systems- Warranty and Freight Procedures

You also want an ePaper? Increase the reach of your titles
YUMPU automatically turns print PDFs into web optimized ePapers that Google loves.
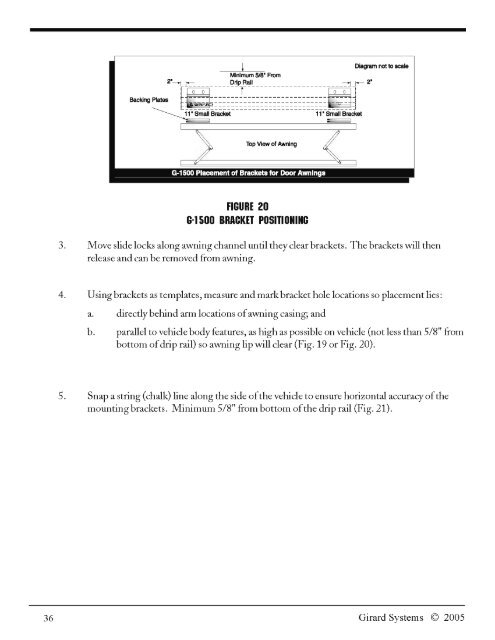
~ Diagram not to scale<br />
Minimum 51S" From<br />
2"-->1 I- Dnp Rail -->1 I- 2'<br />
Bac~ng~ ~~~==-=~}=-~~==~~~==~====~==-~~<br />
~11· Small Bracket 11" Small Bracket<br />
•<br />
~~ ~~<br />
) (<br />
Top View of Awning<br />
FIGURE 20<br />
G·1500 BRACKET POSITIONING<br />
3. Move slide locks along awning channel until theyclear brackets. The brackets will then<br />
release <strong>and</strong> can be removed from awning.<br />
4. Using brackets as templates, measure <strong>and</strong> markbracket hole locations so placement lies:<br />
a. directly behind arm locations ofawning casing; <strong>and</strong><br />
b. parallel to vehicle bodyfeatures, as high as possible on vehicle (not less than 5/8" from<br />
bottom ofdrip rail) so awning lip will clear (Fig. 19 or Fig. 20).<br />
5. Snap a string (chalk) line along the side ofthe vehicle to ensure horizontal accuracy ofthe<br />
mounting brackets. Minimum 5/8" from bottom ofthe drip rail (Fig. 21).<br />
36<br />
<strong>Girard</strong> <strong>Systems</strong> © 2005