Gemini GV6K and Gemini GT6K Programmer's Guide
Gemini GV6K and Gemini GT6K Programmer's Guide
Gemini GV6K and Gemini GT6K Programmer's Guide
Create successful ePaper yourself
Turn your PDF publications into a flip-book with our unique Google optimized e-Paper software.
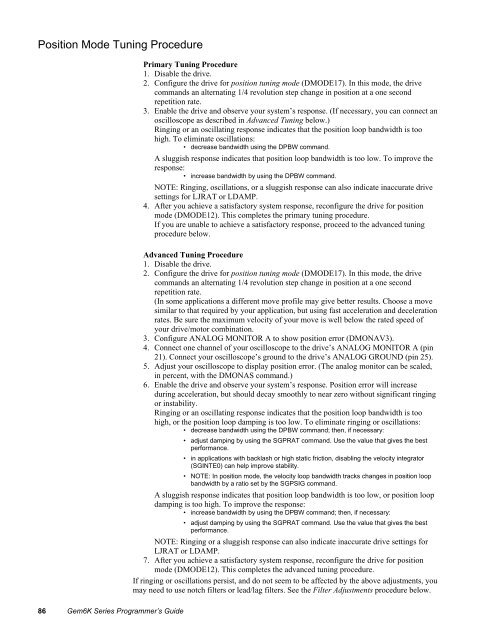
Position Mode Tuning Procedure<br />
Primary Tuning Procedure<br />
1. Disable the drive.<br />
2. Configure the drive for position tuning mode (DMODE17). In this mode, the drive<br />
comm<strong>and</strong>s an alternating 1/4 revolution step change in position at a one second<br />
repetition rate.<br />
3. Enable the drive <strong>and</strong> observe your system’s response. (If necessary, you can connect an<br />
oscilloscope as described in Advanced Tuning below.)<br />
Ringing or an oscillating response indicates that the position loop b<strong>and</strong>width is too<br />
high. To eliminate oscillations:<br />
• decrease b<strong>and</strong>width using the DPBW comm<strong>and</strong>.<br />
A sluggish response indicates that position loop b<strong>and</strong>width is too low. To improve the<br />
response:<br />
• increase b<strong>and</strong>width by using the DPBW comm<strong>and</strong>.<br />
NOTE: Ringing, oscillations, or a sluggish response can also indicate inaccurate drive<br />
settings for LJRAT or LDAMP.<br />
4. After you achieve a satisfactory system response, reconfigure the drive for position<br />
mode (DMODE12). This completes the primary tuning procedure.<br />
If you are unable to achieve a satisfactory response, proceed to the advanced tuning<br />
procedure below.<br />
Advanced Tuning Procedure<br />
1. Disable the drive.<br />
2. Configure the drive for position tuning mode (DMODE17). In this mode, the drive<br />
comm<strong>and</strong>s an alternating 1/4 revolution step change in position at a one second<br />
repetition rate.<br />
(In some applications a different move profile may give better results. Choose a move<br />
similar to that required by your application, but using fast acceleration <strong>and</strong> deceleration<br />
rates. Be sure the maximum velocity of your move is well below the rated speed of<br />
your drive/motor combination.<br />
3. Configure ANALOG MONITOR A to show position error (DMONAV3).<br />
4. Connect one channel of your oscilloscope to the drive’s ANALOG MONITOR A (pin<br />
21). Connect your oscilloscope’s ground to the drive’s ANALOG GROUND (pin 25).<br />
5. Adjust your oscilloscope to display position error. (The analog monitor can be scaled,<br />
in percent, with the DMONAS comm<strong>and</strong>.)<br />
6. Enable the drive <strong>and</strong> observe your system’s response. Position error will increase<br />
during acceleration, but should decay smoothly to near zero without significant ringing<br />
or instability.<br />
Ringing or an oscillating response indicates that the position loop b<strong>and</strong>width is too<br />
high, or the position loop damping is too low. To eliminate ringing or oscillations:<br />
• decrease b<strong>and</strong>width using the DPBW comm<strong>and</strong>; then, if necessary:<br />
• adjust damping by using the SGPRAT comm<strong>and</strong>. Use the value that gives the best<br />
performance.<br />
• in applications with backlash or high static friction, disabling the velocity integrator<br />
(SGINTE0) can help improve stability.<br />
• NOTE: In position mode, the velocity loop b<strong>and</strong>width tracks changes in position loop<br />
b<strong>and</strong>width by a ratio set by the SGPSIG comm<strong>and</strong>.<br />
A sluggish response indicates that position loop b<strong>and</strong>width is too low, or position loop<br />
damping is too high. To improve the response:<br />
• increase b<strong>and</strong>width by using the DPBW comm<strong>and</strong>; then, if necessary:<br />
• adjust damping by using the SGPRAT comm<strong>and</strong>. Use the value that gives the best<br />
performance.<br />
NOTE: Ringing or a sluggish response can also indicate inaccurate drive settings for<br />
LJRAT or LDAMP.<br />
7. After you achieve a satisfactory system response, reconfigure the drive for position<br />
mode (DMODE12). This completes the advanced tuning procedure.<br />
If ringing or oscillations persist, <strong>and</strong> do not seem to be affected by the above adjustments, you<br />
may need to use notch filters or lead/lag filters. See the Filter Adjustments procedure below.<br />
86 Gem6K Series Programmer’s <strong>Guide</strong>


