You also want an ePaper? Increase the reach of your titles
YUMPU automatically turns print PDFs into web optimized ePapers that Google loves.
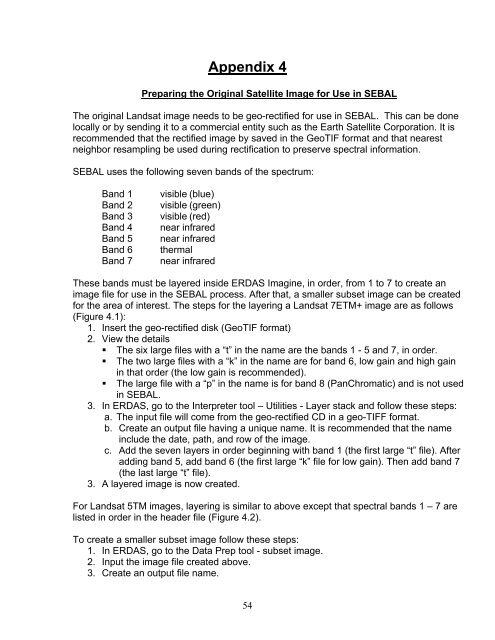
Appendix 4Preparing the Original Satellite Image for Use in <strong>SEBAL</strong>The original Landsat image needs to be geo-rectified for use in <strong>SEBAL</strong>. This can be donelocally or by sending it to a commercial entity such as the Earth Satellite Corporation. It isrecommended that the rectified image by saved in the GeoTIF format and that nearestneighbor resampling be used during rectification to preserve spectral information.<strong>SEBAL</strong> uses the following seven bands of the spectrum:Band 1Band 2Band 3Band 4Band 5Band 6Band 7visible (blue)visible (green)visible (red)near infrarednear infraredthermalnear infraredThese bands must be layered inside ERDAS Imagine, in order, from 1 to 7 to create animage file for use in the <strong>SEBAL</strong> process. After that, a smaller subset image can be createdfor the area of interest. The steps for the layering a Landsat 7ETM+ image are as follows(Figure 4.1):1. Insert the geo-rectified disk (GeoTIF format)2. View the details• The six large files with a “t” in the name are the bands 1 - 5 and 7, in order.• The two large files with a “k” in the name are for band 6, low gain and high gainin that order (the low gain is recommended).• The large file with a “p” in the name is for band 8 (PanChromatic) and is not usedin <strong>SEBAL</strong>.3. In ERDAS, go to the Interpreter tool – Utilities - Layer stack and follow these steps:a. The input file will come from the geo-rectified CD in a geo-TIFF format.b. Create an output file having a unique name. It is recommended that the nameinclude the date, path, and row of the image.c. Add the seven layers in order beginning with band 1 (the first large “t” file). Afteradding band 5, add band 6 (the first large “k” file for low gain). Then add band 7(the last large “t” file).3. A layered image is now created.For Landsat 5TM images, layering is similar to above except that spectral bands 1 – 7 arelisted in order in the header file (Figure 4.2).To create a smaller subset image follow these steps:1. In ERDAS, go to the Data Prep tool - subset image.2. Input the image file created above.3. Create an output file name.54


