Thermo Scientific Multidrop® 384 - Lab Equipment, Industrial ...
Thermo Scientific Multidrop® 384 - Lab Equipment, Industrial ...
Thermo Scientific Multidrop® 384 - Lab Equipment, Industrial ...

You also want an ePaper? Increase the reach of your titles
YUMPU automatically turns print PDFs into web optimized ePapers that Google loves.
1<br />
2<br />
3<br />
4<br />
5<br />
6<br />
7<br />
8<br />
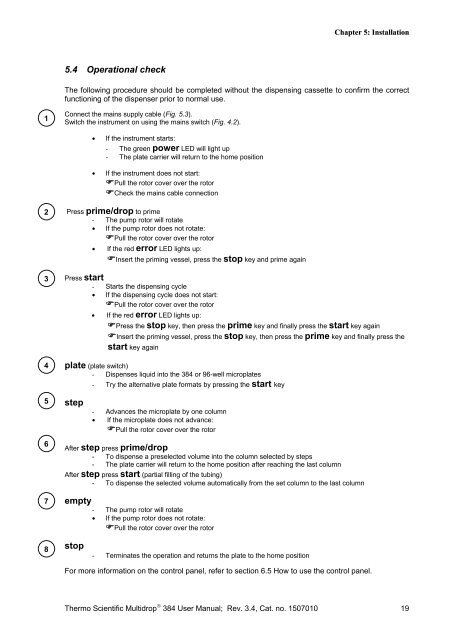
5.4 Operational check<br />
Chapter 5: Installation<br />
The following procedure should be completed without the dispensing cassette to confirm the correct<br />
functioning of the dispenser prior to normal use.<br />
Connect the mains supply cable (Fig. 5.3).<br />
Switch the instrument on using the mains switch (Fig. 4.2).<br />
• If the instrument starts:<br />
- The green power LED will light up<br />
- The plate carrier will return to the home position<br />
• If the instrument does not start:<br />
�Pull the rotor cover over the rotor<br />
�Check the mains cable connection<br />
Press prime/drop to prime<br />
- The pump rotor will rotate<br />
• If the pump rotor does not rotate:<br />
�Pull the rotor cover over the rotor<br />
• If the red error LED lights up:<br />
�Insert the priming vessel, press the stop key and prime again<br />
Press start<br />
- Starts the dispensing cycle<br />
• If the dispensing cycle does not start:<br />
�Pull the rotor cover over the rotor<br />
• If the red error LED lights up:<br />
�Press the stop key, then press the prime key and finally press the start key again<br />
�Insert the priming vessel, press the stop key, then press the prime key and finally press the<br />
start key again<br />
plate (plate switch)<br />
- Dispenses liquid into the <strong>384</strong> or 96-well microplates<br />
- Try the alternative plate formats by pressing the start key<br />
step - Advances the microplate by one column<br />
• If the microplate does not advance:<br />
�Pull the rotor cover over the rotor<br />
After step press prime/drop<br />
- To dispense a preselected volume into the column selected by steps<br />
- The plate carrier will return to the home position after reaching the last column<br />
After step press start (partial filling of the tubing)<br />
- To dispense the selected volume automatically from the set column to the last column<br />
empty - The pump rotor will rotate<br />
• If the pump rotor does not rotate:<br />
�Pull the rotor cover over the rotor<br />
stop<br />
- Terminates the operation and returns the plate to the home position<br />
For more information on the control panel, refer to section 6.5 How to use the control panel.<br />
<strong>Thermo</strong> <strong>Scientific</strong> Multidrop ® <strong>384</strong> User Manual; Rev. 3.4, Cat. no. 1507010 19