Old School Chopper Frame Fabrication - Knucklebuster
Old School Chopper Frame Fabrication - Knucklebuster
Old School Chopper Frame Fabrication - Knucklebuster

You also want an ePaper? Increase the reach of your titles
YUMPU automatically turns print PDFs into web optimized ePapers that Google loves.
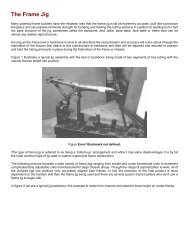
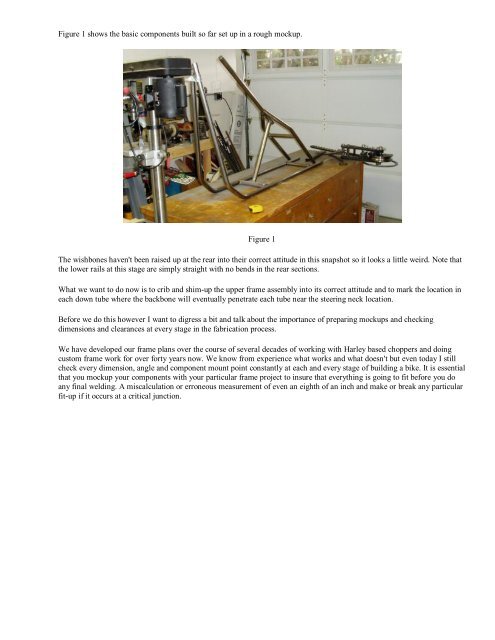
Figure 1 shows the basic components built so far set up in a rough mockup.<br />
Figure 1<br />
The wishbones haven't been raised up at the rear into their correct attitude in this snapshot so it looks a little weird. Note that<br />
the lower rails at this stage are simply straight with no bends in the rear sections.<br />
What we want to do now is to crib and shim-up the upper frame assembly into its correct attitude and to mark the location in<br />
each down tube where the backbone will eventually penetrate each tube near the steering neck location.<br />
Before we do this however I want to digress a bit and talk about the importance of preparing mockups and checking<br />
dimensions and clearances at every stage in the fabrication process.<br />
We have developed our frame plans over the course of several decades of working with Harley based choppers and doing<br />
custom frame work for over forty years now. We know from experience what works and what doesn't but even today I still<br />
check every dimension, angle and component mount point constantly at each and every stage of building a bike. It is essential<br />
that you mockup your components with your particular frame project to insure that everything is going to fit before you do<br />
any final welding. A miscalculation or erroneous measurement of even an eighth of an inch and make or break any particular<br />
fit-up if it occurs at a critical junction.