Old School Chopper Frame Fabrication - Knucklebuster
Old School Chopper Frame Fabrication - Knucklebuster
Old School Chopper Frame Fabrication - Knucklebuster

Create successful ePaper yourself
Turn your PDF publications into a flip-book with our unique Google optimized e-Paper software.
We'll now begin doing the detail work and deciding on what type of tank, fender and handlebars we'll want to use.<br />
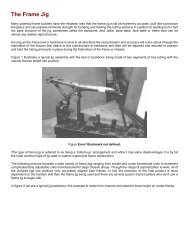
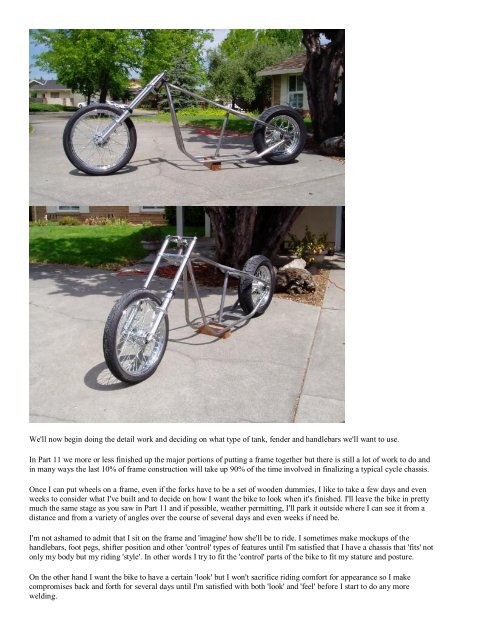
In Part 11 we more or less finished up the major portions of putting a frame together but there is still a lot of work to do and<br />
in many ways the last 10% of frame construction will take up 90% of the time involved in finalizing a typical cycle chassis.<br />
Once I can put wheels on a frame, even if the forks have to be a set of wooden dummies, I like to take a few days and even<br />
weeks to consider what I've built and to decide on how I want the bike to look when it's finished. I'll leave the bike in pretty<br />
much the same stage as you saw in Part 11 and if possible, weather permitting, I'll park it outside where I can see it from a<br />
distance and from a variety of angles over the course of several days and even weeks if need be.<br />
I'm not ashamed to admit that I sit on the frame and 'imagine' how she'll be to ride. I sometimes make mockups of the<br />
handlebars, foot pegs, shifter position and other 'control' types of features until I'm satisfied that I have a chassis that 'fits' not<br />
only my body but my riding 'style'. In other words I try to fit the 'control' parts of the bike to fit my stature and posture.<br />
On the other hand I want the bike to have a certain 'look' but I won't sacrifice riding comfort for appearance so I make<br />
compromises back and forth for several days until I'm satisfied with both 'look' and 'feel' before I start to do any more<br />
welding.