CV7300 Instruction Manual - TECO-Westinghouse Motor Company
CV7300 Instruction Manual - TECO-Westinghouse Motor Company
CV7300 Instruction Manual - TECO-Westinghouse Motor Company

You also want an ePaper? Increase the reach of your titles
YUMPU automatically turns print PDFs into web optimized ePapers that Google loves.
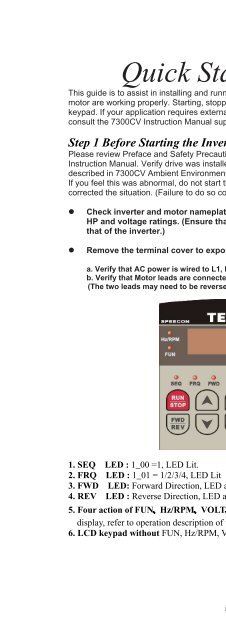
Quick Start Guide<br />
This guide is to assist in installing and running the inverter to verify that the drive and<br />
motor are working properly. Starting, stopping and speed control will be from the<br />
keypad. If your application requires external control or special system programming,<br />
consult the 7300CV <strong>Instruction</strong> <strong>Manual</strong> supplied with your inverter.<br />
Step 1 Before Starting the Inverter<br />
Please review Preface and Safety Precautions (page 0-1 through 1-3) of the 7300CV<br />
<strong>Instruction</strong> <strong>Manual</strong>. Verify drive was installed in accordance with the procedures as<br />
described in 7300CV Ambient Environment and Installation on pages 3-1 through 3-8.<br />
If you feel this was abnormal, do not start the drive until qualified personnel have<br />
corrected the situation. (Failure to do so could result in serious injury.)<br />
Check inverter and motor nameplates to determine that they have the same<br />
HP and voltage ratings. (Ensure that full load motor amps do not exceed<br />
that of the inverter.)<br />
Remove the terminal cover to expose the motor and power terminals.<br />
a. Verify that AC power is wired to L1, L2, and L3 (pages 3-12).<br />
b. Verify that <strong>Motor</strong> leads are connected to T1, T2, and T3 (pages 3-12).<br />
(The two leads may need to be reversed if motor rotation is not correct.<br />
1. SEQ LED : 1_00 =1, LED Lit.<br />
2. FRQ LED : 1_01 = 1/2/3/4, LED Lit<br />
3. FWD LED: Forward Direction, LED action(Flash in stop, Keep Lit in operation).<br />
4. REV LED : Reverse Direction, LED action(Flash in stop, Keep Lit in operation).<br />
5. Four action of FUN、Hz/RPM、VOLT、AMP LED and display of four 7-segment<br />
display, refer to operation description of the keypad.<br />
6. LCD keypad without FUN, Hz/RPM, VOLT, AMP LED.<br />
i