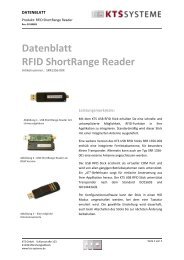
Bedienungsanleitung / Operation manual 30 MHz Digital ...
Bedienungsanleitung / Operation manual 30 MHz Digital ...
Bedienungsanleitung / Operation manual 30 MHz Digital ...

Erfolgreiche ePaper selbst erstellen
Machen Sie aus Ihren PDF Publikationen ein blätterbares Flipbook mit unserer einzigartigen Google optimierten e-Paper Software.
2. Check the Accessories<br />
The supplied accessories have been already described in the Appendix B “Accessories” of this Manual.<br />
You can check whether there is any loss of accessories with reference to this description. If it is found that<br />
there is any accessory lost or damaged, please get in touch with the distributor of Lilliput responsible for<br />
this service or the Lilliput’s local offices.<br />
3. Check the Complete Instrument<br />
If it is found that there is damage to the appearance of the instrument, or the instrument can not work<br />
normally, or fails in the performance test, please get in touch with the Lilliput’s distributor responsible for<br />
this business or the Lilliput’s local offices. If there is damage to the instrument caused by the<br />
transportation, please keep the package. With the transportation department or the Lilliput’s distributor<br />
responsible for this business informed about it, a repairing or replacement of the instrument will be<br />
arranged by the Lilliput.<br />
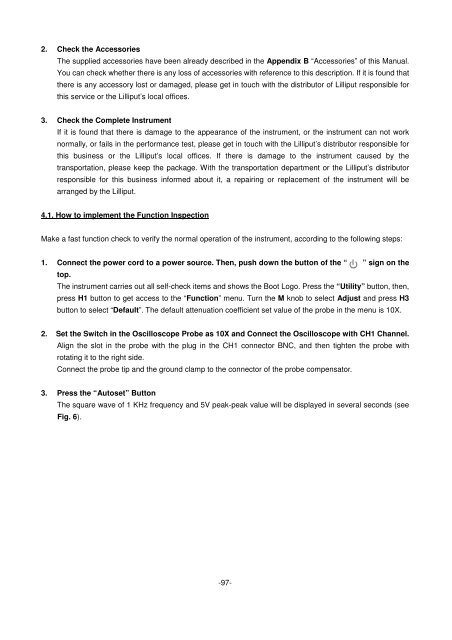
4.1. How to implement the Function Inspection<br />
Make a fast function check to verify the normal operation of the instrument, according to the following steps:<br />
1. Connect the power cord to a power source. Then, push down the button of the “ ” sign on the<br />
top.<br />
The instrument carries out all self-check items and shows the Boot Logo. Press the “Utility” button, then,<br />
press H1 button to get access to the “Function” menu. Turn the M knob to select Adjust and press H3<br />
button to select “Default”. The default attenuation coefficient set value of the probe in the menu is 10X.<br />
2. Set the Switch in the Oscilloscope Probe as 10X and Connect the Oscilloscope with CH1 Channel.<br />
Align the slot in the probe with the plug in the CH1 connector BNC, and then tighten the probe with<br />
rotating it to the right side.<br />
Connect the probe tip and the ground clamp to the connector of the probe compensator.<br />
3. Press the “Autoset” Button<br />
The square wave of 1 KHz frequency and 5V peak-peak value will be displayed in several seconds (see<br />
Fig. 6).<br />
-97-