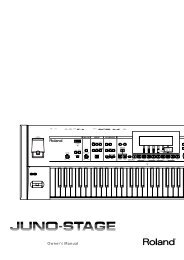
Owner's Manual - Roland
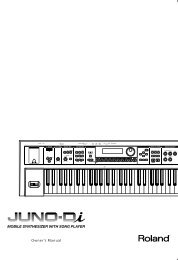
Owner's Manual - Roland
Owner's Manual - Roland

Create successful ePaper yourself
Turn your PDF publications into a flip-book with our unique Google optimized e-Paper software.
About V-LINK<br />
Settings for SONAR<br />
170<br />
Insert a MIDI track somewhere other than in the project, and make the following driver settings for the input and<br />
output. Next, turn on the [Input Echo] button of the MIDI track. Once set up this way, you’ll be able to record and<br />
play back V-LINK data in SONAR.<br />
Turning the V-LINK ON/OFF<br />
1. In the left of the panel, press [V-LINK] so the indicator is lighted.<br />
The V-LINK setting will be on.<br />
When the V-LINK button is lighted, you’ll be able to carry out video control in keeping with operations performed on<br />
the VS-700C.<br />
When V-LINK is switched on, the Video Control function (p. 168) is turned off, and the [VIDEO CTRL] button<br />
will function on behalf of the V-LINK feature (switching video clips).<br />
2. Press [V-LINK] again.<br />
V-LINK Parameters<br />
Port Driver<br />
MIDI Input V-LINK (VS-700)<br />
MIDI Output IO MIDI (VS-700)<br />
The V-LINK button will go out, and the V-LINK setting will be off.<br />
VS-700C Controller V-LINK Control Transmitted MIDI Message<br />
FR BALL Image Switching (Clip Switching) C0 00<br />
ACT Image Switching (Clip Switching) C0 01<br />
X-RAY Image Switching (Clip Switching) C0 02<br />
VIDEO CTRL Image Switching (Clip Switching) C0 03<br />
PUNCH Image Switching (Clip Switching) C0 04<br />
LOOP Image Switching (Clip Switching) C0 05<br />
SNAP Image Switching (Clip Switching) C0 06<br />
|> Image Switching (Clip Switching) C0 07<br />