User Guide Product(range) - Neopost
User Guide Product(range) - Neopost
User Guide Product(range) - Neopost
You also want an ePaper? Increase the reach of your titles
YUMPU automatically turns print PDFs into web optimized ePapers that Google loves.
Pos: 60.10 /Bedienungsanleitungen/Geräte spezifisch/Drucker/Menüpunkte Drucker/Quick Menü/Ü2_6011_PURGE HEADS_AS-830/930 @ 1\mod_1258121533146_912.doc @ 7547 @<br />
Pos: 60.11 /Bedienungsanleitungen/Geräte spezifisch/Drucker/Menüpunkte Drucker/Quick Menü/Ü2_6014_SPEED MEASUREMENT_Non AS-700/710/Orbit/OrbitBase @ 0\mod_1254924958754_912.doc @ 5310 @<br />
Pos: 60.12 /Bedienungsanleitungen/Geräte spezifisch/Drucker/Menüpunkte Drucker/Quick Menü/Ü2_6017_SHOW LAST ERRORS @ 0\mod_1254924965999_912.doc @ 5322 @<br />
Pos: 60.13 /Bedienungsanleitungen/Geräte spezifisch/Drucker/Menüpunkte Drucker/Ü1/Ü0_0000_MAIN MENU @ 0\mod_1254487458572_912.doc @ 4106 @<br />
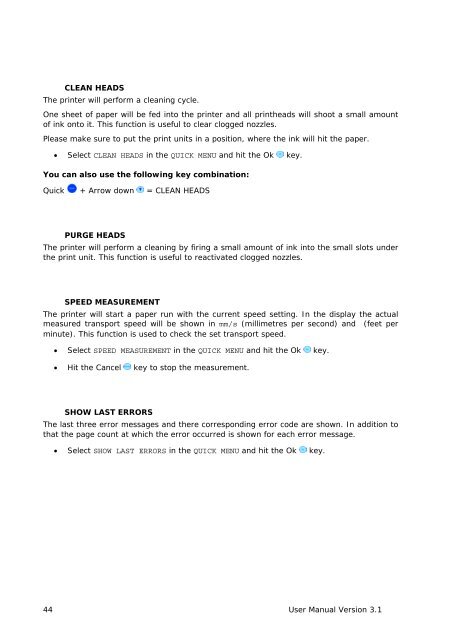
CLEAN HEADS<br />
The printer will perform a cleaning cycle.<br />
One sheet of paper will be fed into the printer and all printheads will shoot a small amount<br />
of ink onto it. This function is useful to clear clogged nozzles.<br />
Please make sure to put the print units in a position, where the ink will hit the paper.<br />
• Select CLEAN HEADS in the QUICK MENU and hit the Ok key.<br />
You can also use the following key combination:<br />
Quick + Arrow down = CLEAN HEADS<br />
PURGE HEADS<br />
The printer will perform a cleaning by firing a small amount of ink into the small slots under<br />
the print unit. This function is useful to reactivated clogged nozzles.<br />
SPEED MEASUREMENT<br />
The printer will start a paper run with the current speed setting. In the display the actual<br />
measured transport speed will be shown in mm/s (millimetres per second) and (feet per<br />
minute). This function is used to check the set transport speed.<br />
• Select SPEED MEASUREMENT in the QUICK MENU and hit the Ok key.<br />
• Hit the Cancel key to stop the measurement.<br />
SHOW LAST ERRORS<br />
The last three error messages and there corresponding error code are shown. In addition to<br />
that the page count at which the error occurred is shown for each error message.<br />
• Select SHOW LAST ERRORS in the QUICK MENU and hit the Ok key.<br />
44 <strong>User</strong> Manual Version 3.1


