Swift Owner's Handbook - Swift Group
Swift Owner's Handbook - Swift Group
Swift Owner's Handbook - Swift Group
- No tags were found...

You also want an ePaper? Increase the reach of your titles
YUMPU automatically turns print PDFs into web optimized ePapers that Google loves.
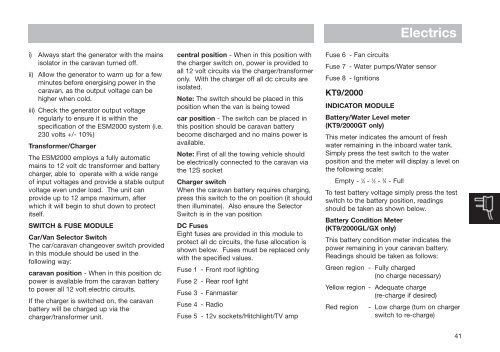
i) Always start the generator with the mainsisolator in the caravan turned off.ii) Allow the generator to warm up for a fewminutes before energising power in thecaravan, as the output voltage can behigher when cold.iii) Check the generator output voltageregularly to ensure it is within thespecification of the ESM2000 system (i.e.230 volts +/- 10%)Transformer/ChargerThe ESM2000 employs a fully automaticmains to 12 volt dc transformer and batterycharger, able to operate with a wide rangeof input voltages and provide a stable outputvoltage even under load. The unit canprovide up to 12 amps maximum, afterwhich it will begin to shut down to protectitself.SWITCH & FUSE MODULECar/Van Selector SwitchThe car/caravan changeover switch providedin this module should be used in thefollowing way:caravan position - When in this position dcpower is available from the caravan batteryto power all 12 volt electric circuits.If the charger is switched on, the caravanbattery will be charged up via thecharger/transformer unit.central position - When in this position withthe charger switch on, power is provided toall 12 volt circuits via the charger/transformeronly. With the charger off all dc circuits areisolated.Note: The switch should be placed in thisposition when the van is being towedcar position - The switch can be placed inthis position should be caravan batterybecome discharged and no mains power isavailable.Note: First of all the towing vehicle shouldbe electrically connected to the caravan viathe 12S socketCharger switchWhen the caravan battery requires charging,press this switch to the on position (it shouldthen illuminate). Also ensure the SelectorSwitch is in the van positionDC FusesEight fuses are provided in this module toprotect all dc circuits, the fuse allocation isshown below. Fuses must be replaced onlywith the specified values.Fuse 1 - Front roof lightingFuse 2 - Rear roof lightFuse 3 - FanmasterFuse 4 - RadioFuse 5 - 12v sockets/Hitchlight/TV ampElectricsFuse 6 - Fan circuitsFuse 7 - Water pumps/Water sensorFuse 8 - IgnitionsKT9/2000INDICATOR MODULEBattery/Water Level meter(KT9/2000GT only)This meter indicates the amount of freshwater remaining in the inboard water tank.Simply press the test switch to the waterposition and the meter will display a level onthe following scale:Empty - 1 ⁄4 - 1 ⁄2 - 3 ⁄4 - FullTo test battery voltage simply press the testswitch to the battery position, readingsshould be taken as shown below.Battery Condition Meter(KT9/2000GL/GX only)This battery condition meter indicates thepower remaining in your caravan battery.Readings should be taken as follows:Green region - Fully charged(no charge necessary)Yellow region - Adequate charge(re-charge if desired)Red region - Low charge (turn on chargerswitch to re-charge)41