Suite 7.1 Manual - Audio Design Associates
Suite 7.1 Manual - Audio Design Associates
Suite 7.1 Manual - Audio Design Associates
Create successful ePaper yourself
Turn your PDF publications into a flip-book with our unique Google optimized e-Paper software.
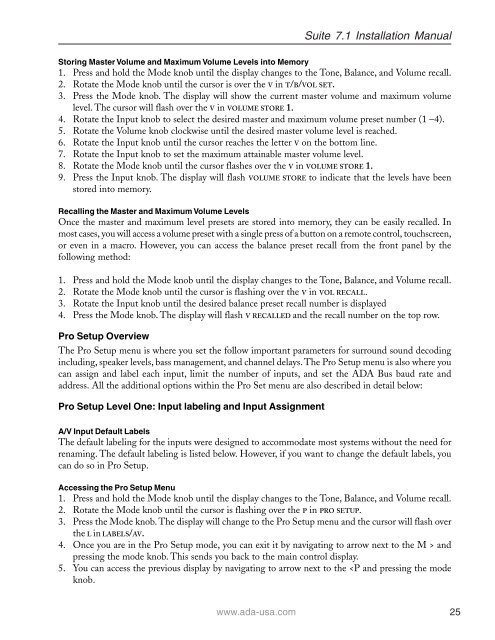
<strong>Suite</strong> <strong>7.1</strong> Installation <strong>Manual</strong><br />
Storing Master Volume and Maximum Volume Levels into Memory<br />
1. Press and hold the Mode knob until the display changes to the Tone, Balance, and Volume recall.<br />
2. Rotate the Mode knob until the cursor is over the V in T/B/VOL SET.<br />
3. Press the Mode knob. The display will show the current master volume and maximum volume<br />
level. The cursor will flash over the V in VOLUME STORE 1.<br />
4. Rotate the Input knob to select the desired master and maximum volume preset number (1 –4).<br />
5. Rotate the Volume knob clockwise until the desired master volume level is reached.<br />
6. Rotate the Input knob until the cursor reaches the letter V on the bottom line.<br />
7. Rotate the Input knob to set the maximum attainable master volume level.<br />
8. Rotate the Mode knob until the cursor flashes over the V in VOLUME STORE 1.<br />
9. Press the Input knob. The display will flash VOLUME STORE to indicate that the levels have been<br />
stored into memory.<br />
Recalling the Master and Maximum Volume Levels<br />
Once the master and maximum level presets are stored into memory, they can be easily recalled. In<br />
most cases, you will access a volume preset with a single press of a button on a remote control, touchscreen,<br />
or even in a macro. However, you can access the balance preset recall from the front panel by the<br />
following method:<br />
1. Press and hold the Mode knob until the display changes to the Tone, Balance, and Volume recall.<br />
2. Rotate the Mode knob until the cursor is flashing over the V in VOL RECALL.<br />
3. Rotate the Input knob until the desired balance preset recall number is displayed<br />
4. Press the Mode knob. The display will flash V RECALLED and the recall number on the top row.<br />
Pro Setup Overview<br />
The Pro Setup menu is where you set the follow important parameters for surround sound decoding<br />
including, speaker levels, bass management, and channel delays. The Pro Setup menu is also where you<br />
can assign and label each input, limit the number of inputs, and set the ADA Bus baud rate and<br />
address. All the additional options within the Pro Set menu are also described in detail below:<br />
Pro Setup Level One: Input labeling and Input Assignment<br />
A/V Input Default Labels<br />
The default labeling for the inputs were designed to accommodate most systems without the need for<br />
renaming. The default labeling is listed below. However, if you want to change the default labels, you<br />
can do so in Pro Setup.<br />
Accessing the Pro Setup Menu<br />
1. Press and hold the Mode knob until the display changes to the Tone, Balance, and Volume recall.<br />
2. Rotate the Mode knob until the cursor is flashing over the P in PRO SETUP.<br />
3. Press the Mode knob. The display will change to the Pro Setup menu and the cursor will flash over<br />
the L in LABELS/AV.<br />
4. Once you are in the Pro Setup mode, you can exit it by navigating to arrow next to the M > and<br />
pressing the mode knob. This sends you back to the main control display.<br />
5. You can access the previous display by navigating to arrow next to the


