Suite 7.1 Manual - Audio Design Associates
Suite 7.1 Manual - Audio Design Associates
Suite 7.1 Manual - Audio Design Associates

You also want an ePaper? Increase the reach of your titles
YUMPU automatically turns print PDFs into web optimized ePapers that Google loves.
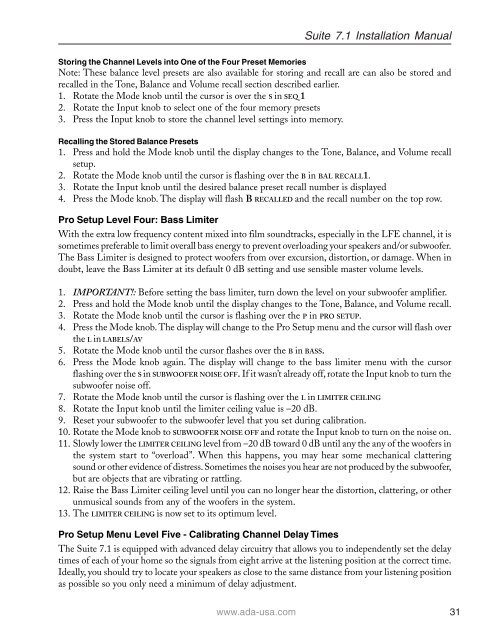
<strong>Suite</strong> <strong>7.1</strong> Installation <strong>Manual</strong><br />
Storing the Channel Levels into One of the Four Preset Memories<br />
Note: These balance level presets are also available for storing and recall are can also be stored and<br />
recalled in the Tone, Balance and Volume recall section described earlier.<br />
1. Rotate the Mode knob until the cursor is over the S in SEQ 1<br />
2. Rotate the Input knob to select one of the four memory presets<br />
3. Press the Input knob to store the channel level settings into memory.<br />
Recalling the Stored Balance Presets<br />
1. Press and hold the Mode knob until the display changes to the Tone, Balance, and Volume recall<br />
setup.<br />
2. Rotate the Mode knob until the cursor is flashing over the B in BAL RECALL1.<br />
3. Rotate the Input knob until the desired balance preset recall number is displayed<br />
4. Press the Mode knob. The display will flash B RECALLED and the recall number on the top row.<br />
Pro Setup Level Four: Bass Limiter<br />
With the extra low frequency content mixed into film soundtracks, especially in the LFE channel, it is<br />
sometimes preferable to limit overall bass energy to prevent overloading your speakers and/or subwoofer.<br />
The Bass Limiter is designed to protect woofers from over excursion, distortion, or damage. When in<br />
doubt, leave the Bass Limiter at its default 0 dB setting and use sensible master volume levels.<br />
1. IMPORTANT!: Before setting the bass limiter, turn down the level on your subwoofer amplifier.<br />
2. Press and hold the Mode knob until the display changes to the Tone, Balance, and Volume recall.<br />
3. Rotate the Mode knob until the cursor is flashing over the P in PRO SETUP.<br />
4. Press the Mode knob. The display will change to the Pro Setup menu and the cursor will flash over<br />
the L in LABELS/AV<br />
5. Rotate the Mode knob until the cursor flashes over the B in BASS.<br />
6. Press the Mode knob again. The display will change to the bass limiter menu with the cursor<br />
flashing over the S in SUBWOOFER NOISE OFF. If it wasn’t already off, rotate the Input knob to turn the<br />
subwoofer noise off.<br />
7. Rotate the Mode knob until the cursor is flashing over the L in LIMITER CEILING<br />
8. Rotate the Input knob until the limiter ceiling value is –20 dB.<br />
9. Reset your subwoofer to the subwoofer level that you set during calibration.<br />
10. Rotate the Mode knob to SUBWOOFER NOISE OFF and rotate the Input knob to turn on the noise on.<br />
11. Slowly lower the LIMITER CEILING level from –20 dB toward 0 dB until any the any of the woofers in<br />
the system start to “overload”. When this happens, you may hear some mechanical clattering<br />
sound or other evidence of distress. Sometimes the noises you hear are not produced by the subwoofer,<br />
but are objects that are vibrating or rattling.<br />
12. Raise the Bass Limiter ceiling level until you can no longer hear the distortion, clattering, or other<br />
unmusical sounds from any of the woofers in the system.<br />
13. The LIMITER CEILING is now set to its optimum level.<br />
Pro Setup Menu Level Five - Calibrating Channel Delay Times<br />
The <strong>Suite</strong> <strong>7.1</strong> is equipped with advanced delay circuitry that allows you to independently set the delay<br />
times of each of your home so the signals from eight arrive at the listening position at the correct time.<br />
Ideally, you should try to locate your speakers as close to the same distance from your listening position<br />
as possible so you only need a minimum of delay adjustment.<br />
www.ada-usa.com 31