PICAXE Manual Section 1 - TechnoPujades - Free
PICAXE Manual Section 1 - TechnoPujades - Free
PICAXE Manual Section 1 - TechnoPujades - Free
- No tags were found...
Create successful ePaper yourself
Turn your PDF publications into a flip-book with our unique Google optimized e-Paper software.
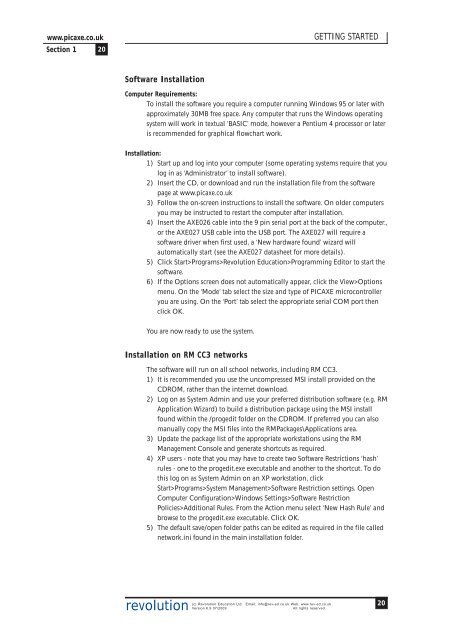
www.picaxe.co.uk<strong>Section</strong> 1 20GETTING STARTEDSoftware InstallationComputer Requirements:To install the software you require a computer running Windows 95 or later withapproximately 30MB free space. Any computer that runs the Windows operatingsystem will work in textual ‘BASIC’ mode, however a Pentium 4 processor or lateris recommended for graphical flowchart work.Installation:1) Start up and log into your computer (some operating systems require that youlog in as ‘Administrator’ to install software).2) Insert the CD, or download and run the installation file from the softwarepage at www.picaxe.co.uk3) Follow the on-screen instructions to install the software. On older computersyou may be instructed to restart the computer after installation.4) Insert the AXE026 cable into the 9 pin serial port at the back of the computer.,or the AXE027 USB cable into the USB port. The AXE027 will require asoftware driver when first used, a ‘New hardware found’ wizard willautomatically start (see the AXE027 datasheet for more details).5) Click Start>Programs>Revolution Education>Programming Editor to start thesoftware.6) If the Options screen does not automatically appear, click the View>Optionsmenu. On the ‘Mode’ tab select the size and type of <strong>PICAXE</strong> microcontrolleryou are using. On the ‘Port’ tab select the appropriate serial COM port thenclick OK.You are now ready to use the system.Installation on RM CC3 networksThe software will run on all school networks, including RM CC3.1) It is recommended you use the uncompressed MSI install provided on theCDROM, rather than the internet download.2) Log on as System Admin and use your preferred distribution software (e.g. RMApplication Wizard) to build a distribution package using the MSI installfound within the /progedit folder on the CDROM. If preferred you can alsomanually copy the MSI files into the RMPackages\Applications area.3) Update the package list of the appropriate workstations using the RMManagement Console and generate shortcuts as required.4) XP users - note that you may have to create two Software Restrictions ‘hash’rules - one to the progedit.exe executable and another to the shortcut. To dothis log on as System Admin on an XP workstation, clickStart>Programs>System Management>Software Restriction settings. OpenComputer Configuration>Windows Settings>Software RestrictionPolicies>Additional Rules. From the Action menu select ‘New Hash Rule’ andbrowse to the progedit.exe executable. Click OK.5) The default save/open folder paths can be edited as required in the file callednetwork.ini found in the main installation folder.revolution(c) Revolution Education Ltd. Email: info@rev-ed.co.uk Web: www.rev-ed.co.ukVersion 6.9 07/2009All rights reserved.20


