PICAXE Manual Section 1 - TechnoPujades - Free
PICAXE Manual Section 1 - TechnoPujades - Free
PICAXE Manual Section 1 - TechnoPujades - Free
- No tags were found...
Create successful ePaper yourself
Turn your PDF publications into a flip-book with our unique Google optimized e-Paper software.
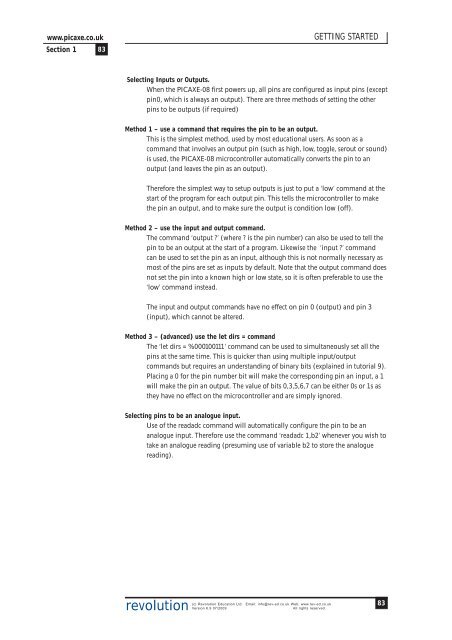
www.picaxe.co.uk<strong>Section</strong> 1 83GETTING STARTEDSelecting Inputs or Outputs.When the <strong>PICAXE</strong>-08 first powers up, all pins are configured as input pins (exceptpin0, which is always an output). There are three methods of setting the otherpins to be outputs (if required)Method 1 – use a command that requires the pin to be an output.This is the simplest method, used by most educational users. As soon as acommand that involves an output pin (such as high, low, toggle, serout or sound)is used, the <strong>PICAXE</strong>-08 microcontroller automatically converts the pin to anoutput (and leaves the pin as an output).Therefore the simplest way to setup outputs is just to put a ‘low’ command at thestart of the program for each output pin. This tells the microcontroller to makethe pin an output, and to make sure the output is condition low (off).Method 2 – use the input and output command.The command ‘output ?’ (where ? is the pin number) can also be used to tell thepin to be an output at the start of a program. Likewise the ‘input ?’ commandcan be used to set the pin as an input, although this is not normally necessary asmost of the pins are set as inputs by default. Note that the output command doesnot set the pin into a known high or low state, so it is often preferable to use the‘low’ command instead.The input and output commands have no effect on pin 0 (output) and pin 3(input), which cannot be altered.Method 3 – (advanced) use the let dirs = commandThe ‘let dirs = %000100111’ command can be used to simultaneously set all thepins at the same time. This is quicker than using multiple input/outputcommands but requires an understanding of binary bits (explained in tutorial 9).Placing a 0 for the pin number bit will make the corresponding pin an input, a 1will make the pin an output. The value of bits 0,3,5,6,7 can be either 0s or 1s asthey have no effect on the microcontroller and are simply ignored.Selecting pins to be an analogue input.Use of the readadc command will automatically configure the pin to be ananalogue input. Therefore use the command ‘readadc 1,b2’ whenever you wish totake an analogue reading (presuming use of variable b2 to store the analoguereading).revolution(c) Revolution Education Ltd. Email: info@rev-ed.co.uk Web: www.rev-ed.co.ukVersion 6.9 07/2009All rights reserved.83


