You also want an ePaper? Increase the reach of your titles
YUMPU automatically turns print PDFs into web optimized ePapers that Google loves.
THE ADOBE RAW WORKFLOW<br />
Learn how to get started in <strong>Photoshop</strong> or Lightroom<br />
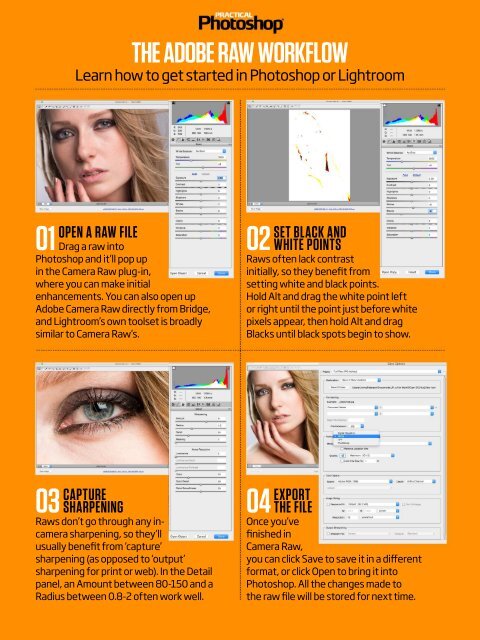
01<br />
OPEN A RAW FILE<br />
Drag a raw into<br />
<strong>Photoshop</strong> and it’ll pop up<br />
in the Camera Raw plug-in,<br />
where you can make initial<br />
enhancements. You can also open up<br />
Adobe Camera Raw directly from Bridge,<br />
and Lightroom’s own toolset is broadly<br />
similar to Camera Raw’s.<br />
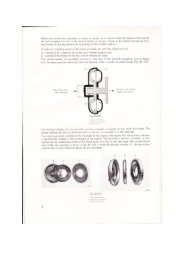
02<br />
SET BLACK AND<br />
WHITE POINTS<br />
Raws often lack contrast<br />
initially, so they benefit from<br />
setting white and black points.<br />
Hold Alt and drag the white point left<br />
or right until the point just before white<br />
pixels appear, then hold Alt and drag<br />
Blacks until black spots begin to show.<br />
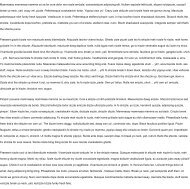
03 CAPTURE<br />
SHARPENING<br />
Raws don’t go through any incamera<br />
sharpening, so they’ll<br />
usually benefit from ‘capture’<br />
sharpening (as opposed to ‘output’<br />
sharpening for print or web). In the Detail<br />
panel, an Amount between 80-150 and a<br />
Radius between 0.8-2 often work well.<br />
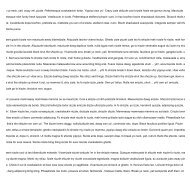
04 EXPORT THE FILE<br />
Once you’ve<br />
finished in<br />
Camera Raw,<br />
you can click Save to save it in a different<br />
format, or click Open to bring it into<br />
<strong>Photoshop</strong>. All the changes made to<br />
the raw file will be stored for next time.


