
You also want an ePaper? Increase the reach of your titles
YUMPU automatically turns print PDFs into web optimized ePapers that Google loves.
The six most frequently used <strong>Photoshop</strong> layers for image<br />
editing, and how to use them to improve almost any photo<br />
<strong>Photoshop</strong> has many types of layers<br />
and adjustment layers available, but<br />
there are six that you’ll find you need to use<br />
again and again. Learning how they should be<br />
02 CURVES<br />
Curves is one of the most powerful<br />
adjustment layers. An S-shaped curve<br />
brightens the highlights and darkens the<br />
shadows, resulting in extra contrast. Create<br />
a Curves Adjustment Layer and click the<br />
middle of the diagonal line to add a central<br />
control point. Drag down on the lower part<br />
of the line and drag up on the upper part of<br />
the line to improve image contrast.<br />
used may seem a little daunting for beginners,<br />
but once you’ve got to grips with them, you’ll<br />
find they play a part in the creative process of<br />
almost every image you make.<br />
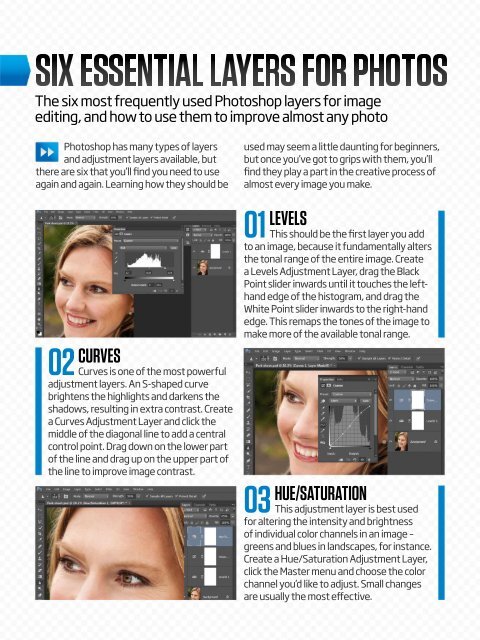
01 LEVELS<br />
This should be the first layer you add<br />
to an image, because it fundamentally alters<br />
the tonal range of the entire image. Create<br />
a Levels Adjustment Layer, drag the Black<br />
Point slider inwards until it touches the lefthand<br />
edge of the histogram, and drag the<br />
White Point slider inwards to the right-hand<br />
edge. This remaps the tones of the image to<br />
make more of the available tonal range.<br />
03 HUE/SATURATION<br />
This adjustment layer is best used<br />
for altering the intensity and brightness<br />
of individual color channels in an image –<br />
greens and blues in landscapes, for instance.<br />
Create a Hue/Saturation Adjustment Layer,<br />
click the Master menu and choose the color<br />
channel you’d like to adjust. Small changes<br />
are usually the most effective.