
Create successful ePaper yourself
Turn your PDF publications into a flip-book with our unique Google optimized e-Paper software.
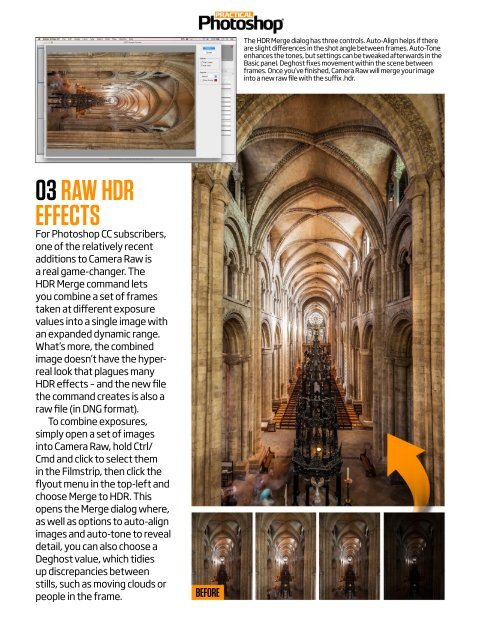
The HDR Merge dialog has three controls. Auto-Align helps if there<br />
are slight differences in the shot angle between frames. Auto-Tone<br />
enhances the tones, but settings can be tweaked afterwards in the<br />
Basic panel. Deghost fixes movement within the scene between<br />
frames. Once you’ve finished, Camera Raw will merge your image<br />
into a new raw file with the suffix .hdr.<br />
03 RAW HDR<br />
EFFECTS<br />
For <strong>Photoshop</strong> CC subscribers,<br />
one of the relatively recent<br />
additions to Camera Raw is<br />
a real game-changer. The<br />
HDR Merge command lets<br />
you combine a set of frames<br />
taken at different exposure<br />
values into a single image with<br />
an expanded dynamic range.<br />
What’s more, the combined<br />
image doesn’t have the hyperreal<br />
look that plagues many<br />
HDR effects – and the new file<br />
the command creates is also a<br />
raw file (in DNG format).<br />
To combine exposures,<br />
simply open a set of images<br />
into Camera Raw, hold Ctrl/<br />
Cmd and click to select them<br />
in the Filmstrip, then click the<br />
flyout menu in the top-left and<br />
choose Merge to HDR. This<br />
opens the Merge dialog where,<br />
as well as options to auto-align<br />
images and auto-tone to reveal<br />
detail, you can also choose a<br />
Deghost value, which tidies<br />
up discrepancies between<br />
stills, such as moving clouds or<br />
people in the frame.<br />
BEFORE